
Ever noticed how a single necklace can either draw the eye or overwhelm an outfit? Graduated proportions, where bead sizes increase gradually toward the centre, steer the gaze and make any neckline feel intentional.
Discover how to create visual flow, balance necklace scale with your silhouette, and choose pearl sizes, gradation steps and lengths. You will also learn layering strategies and simple measuring techniques to customise each piece for a comfortable, flattering fit.

Craft a graceful visual flow with graduated proportions
A graduated scale creates visual flow by increasing bead size, pendant weight or chain thickness towards the centre, guiding the eye downward, or by reversing that gradation to lift the gaze. Because the eye follows changes in scale and contrast, a smooth progression creates movement. Gradually vary bead sizes, chain styles and colour saturation to maintain momentum, while keeping a single dominant focal element and avoiding abrupt jumps in scale or colour. Let subtle contrasts and a measured rhythm articulate the direction of the design. Careful textural choices and consistent spacing between elements help the composition read as a single, organised line.
Match necklace proportions to the neckline for a harmonious look. For a V-neck, echo the V by letting the longest element rest just above the apex. For scoop or sweetheart necklines, allow the longest strand to sit at the centre of the décolletage. With strapless styles, favour a longer, more pronounced graduation. For high necks, keep the shortest strands above the fabric or position the largest elements just below the collar to avoid crowding. To check balance, put the necklace on, tilt your chin slightly and view yourself in a mirror or take a photo from a short distance. Adjust strand spacing with extenders, clasps or a small connector at the back until gaps are even and strands do not overlap. Finally, consider body lines and complementary jewellery: choose graduations that lengthen the neck or broaden the chest as required, and photograph combinations from different angles to refine focal placement and the relative sizes of adjacent strands.
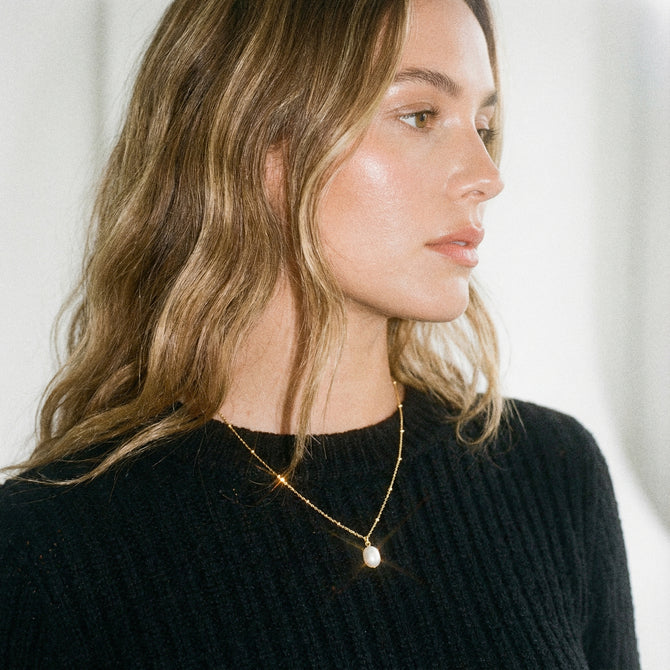
Adds a subtle central pearl for balanced layering.

Balance necklace scale with your neckline and silhouette
Begin by mapping necklace lengths to the neckline. Identify the shape of the neckline and measure from the base of the throat to the lowest point of the opening. Choose a graduated set whose longest strand falls at or just below that point. Aim for incremental differences of about 3 to 5 cm so each strand creates a visible step without excessive overlap, and check the result in a front-on mirror or by taking a photograph. Match the scale of the graduation to the silhouette. Longer, narrower graduations create vertical lines that can elongate a broader torso, while slightly wider, fuller graduations add presence to a narrow or shorter torso and help rebalance proportions. Consider fabric weight and pattern when selecting the finish. Simpler, sleeker graduations read as a single organising line against heavy or textured fabrics, whereas richer, more detailed graduations stand out against plain, lightweight fabrics. Hold the necklace over the outfit and photograph it to judge contrast and legibility.
Choose clear pairings for common necklines. A choker or short graduated strand sits above high and boat necklines; short-to-mid graduated strands fill the negative space of scoop and square necks; and mid-to-long graduated strands with a central pendant align with the apex of a V-neck. These combinations work because the longest strand mirrors or completes the neckline, guiding the eye to the intended focal point. Fine-tune positioning with extenders, spacing beads or small jump rings to adjust strand separation and pendant height, and balance a multi-strand set with simpler earrings or an open neckline so the necklace remains the visual anchor. Always check movement by turning your head and sitting to ensure strands stay in place, making small adjustments until the set behaves away from the body as it does in your photograph.
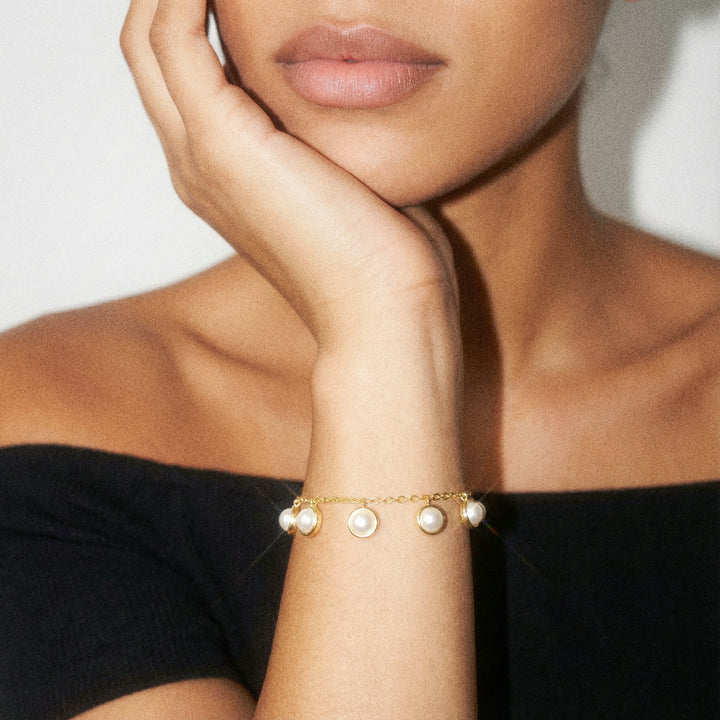
Layer a mid-length pearl strand to balance proportions.

Choose your pearl sizes, graduation and ideal necklace length
Begin by selecting the smallest and largest pearls, then establish regular increments so the taper forms a smooth gradation. Arrange the pearls on a board to assess the visual flow, and adjust the step size if the taper appears top-heavy or too subtle. Opt for gently increasing steps rather than abrupt jumps so the eye follows the curve of the necklace, and keep size differences within a consistent tolerance to preserve symmetry. Making a mock-up allows you to see how the gradation reads in movement and from different angles.
To translate neckline shapes into the ideal pearl fall, measure from the base of the throat or the collarbone to the point where you want the centre pearl to sit for V, scoop, boat and strapless styles. Use those measurements to choose a length that places the largest pearls where they will best complement the garment. Larger centre pearls create a clear focal point and visually broaden the décolletage, while smaller centres or a gentler gradation will lengthen the appearance of the neck. Lay out before and after options so you can compare the effect. Centre the largest pearl precisely and use knotting or small spacers to control movement and spacing. Test the stringing on a dummy cord to check drape and comfort before finishing. When layering, coordinate the scale of each strand so the graduated piece either remains the focal layer or provides subtle support. Avoid competing focal points and try combinations on the intended outfit to ensure a harmonious result.
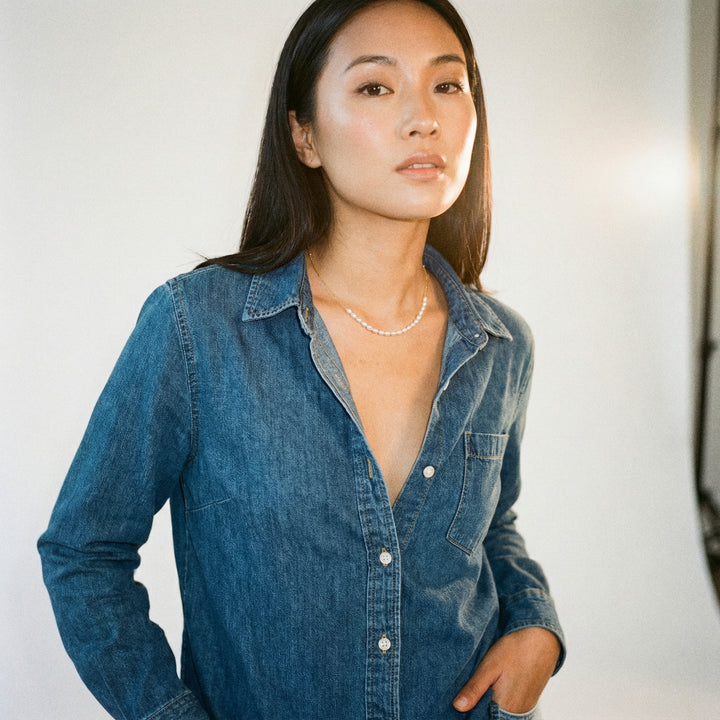
Add a fine 4mm strand for subtle layered balance

How to layer graduated necklaces for effortless elegance
Begin with a graduated necklace as the focal layer, then add one shorter and one longer piece to create a stepped, eye-guiding line. The descending lengths establish a vertical rhythm that visually lengthens the neck and draws attention to the décolletage, flattering V, scoop and boat necklines. Vary chain texture and pendant scale so each layer remains distinct: pair a fine chain with a chunkier one, combine a small charm with a larger pendant, and include at least one understated piece to provide the eye with a resting point.
Balance visual weight across your jewellery by simplifying necklace layers when you wear bold earrings or a statement cuff, or by choosing more textural necklaces if your earrings are minimal. Coordinate metals and finishes for a cohesive appearance and easier care: group pieces with similar tones, or deliberately mix metals while keeping finishes complementary. Keep proportions consistent across layers so the whole ensemble reads as one when you add earrings or bracelets. Preserve spacing and prevent tangles with practical techniques: secure the longest chain first; use small removable extenders to adjust separation; fasten necklaces on a flat surface; or employ tiny stoppers to keep chains apart on the collarbone so layers sit as intended.
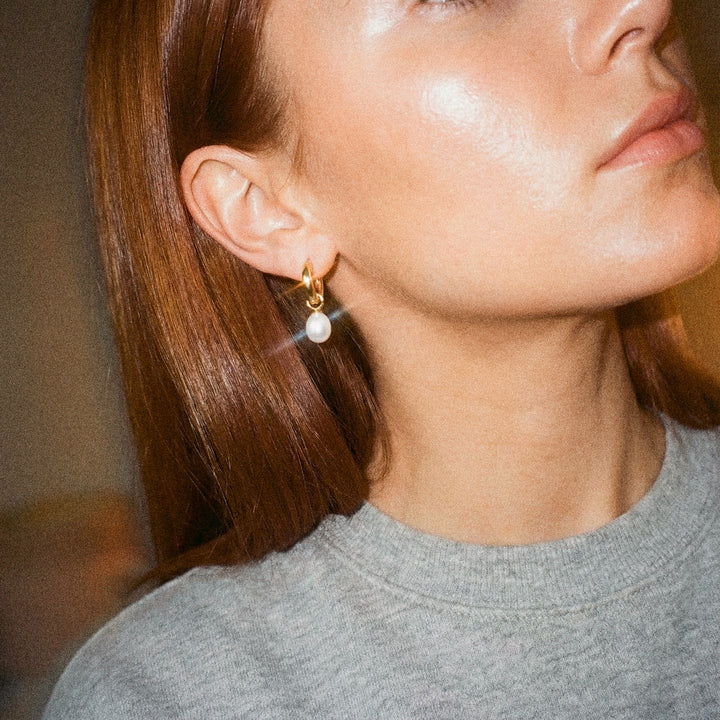
Add a single pearl as the understated resting layer.

How to measure and customise jewellery for a perfect fit
Begin by marking the desired spot on the chest with a length of ribbon or a flexible tape. Measure from the nape of the neck through that mark to determine the finished length in centimetres, allowing two to four centimetres for movement and clasp bulk. Try the measurement with the same fabric and neckline you intend to wear to assess the fall in practice. For grading beads, make the centre bead roughly one and a half to twice the diameter of the end beads, increasing size in small, consistent steps so the transition reads as a smooth gradient that draws the eye to the centre.
Match the bead graduation to the neckline. For high collars, choose close-set, subtle graduated beads that sit neatly against the collarbone. For V and low scoop necklines, position the largest bead at the point of the neckline to draw the eye downward. For boat and square necklines, allow the graduation to rest just above the collarbone so it follows the shoulder line. Photograph the prototype while worn on the intended top to confirm alignment, and prototype on ribbon with removable beads so spacing can be reorganised quickly. Fit a short extender chain or a small, discreet jump ring to fine-tune length by centimetres. If the necklace tends to flip, consider a small counterweight or a firmer central wire. Wear the finished piece while moving, sitting and standing, and take front and profile photographs. If the focal point shifts, adjust bead sizes, spacing or wire stiffness rather than only changing length. Finally, check comfort by noting any pressure on the collarbone and ensuring freedom of head movement.
Graduated proportions guide the eye and flatter any neckline by placing the larger elements towards the centre, creating a harmonious visual flow. Try the necklace with the intended garment, measure from the base of the throat, experiment with incremental bead sizes and add extenders where needed to ensure the necklace sits as intended and moves with ease.
Take care to match the proportions of the neckline and overall silhouette when selecting pearl sizes and lengths. Layer pieces with a clear hierarchy and measure carefully for a precise fit. Try mock-ups against the actual outfit, photograph each variation and refine bead spacing, stringing tension and wire stiffness until the focal pearl and the strand behaviour confirm the design works both on and off the body.