


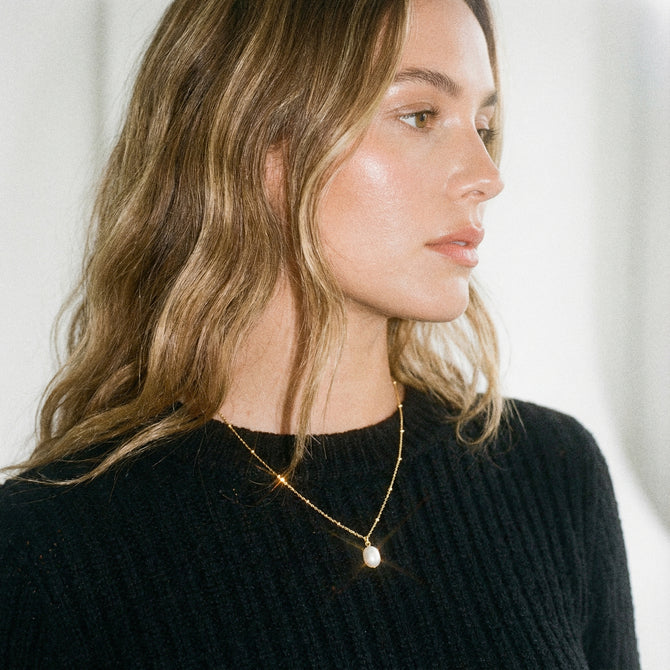
A stack of pearl strands can elevate an outfit, but when they knot and tangle that sense of elegance can quickly be lost. How do you create layered necklaces that look deliberately arranged, sit comfortably and resist tangling?
This step-by-step guide outlines practical techniques for layering pearls with poise. Learn how to measure and pair strands for balanced layers, select secure clasps and stopper systems, and create elegant spacing using knots, spacer beads and extenders. It also explains how to arrange layers and position clasps to prevent tangles, and offers simple wearing and storage routines to keep pearls ready and well protected.

Measure and pair necklace strands to achieve beautifully balanced layers
Measure each strand from clasp to clasp using a soft tape measure or a calibrated length of string. Record the exact measurement for every strand and label them so you know the true worn length. For tiering, allow approximately four to six centimetres between adjacent strands for a subtle effect, and seven to ten centimetres for clearly separated layers, adjusting these gaps for neck size and pearl diameter. Pair strands by visual weight as well as length: measure pearl diameter and place the largest pearls on the lowest layer. Balance colour and lustre so no single strand visually dominates the composition.
Place the strands flat on a soft cloth in the intended order and secure them. Photograph from the front and the side while gently moving your head and shoulders to check for rubbing or crossing. If arcs overlap, adjust by swapping adjacent strands, lengthening the lower strand by a centimetre or two, or changing the order until each strand sits separately during normal movement. Temporarily anchor positions with small connectors, locking rings, or a multi-strand clasp; label each strand and note any knots or differences in string tension, as unequal tension will allow shorter strands to slide beneath longer ones and cause tangles.
Add a soft grey strand to balance layered pearls

Select secure clasps and bead stoppers for confident, lasting wear
Anchor each strand to its own ring on the multi-strand clasp or plate to establish even spacing, prevent strands from crossing and reproduce the same layout whenever you wear the necklace. Fit removable silicone or rubber bead stoppers close to the clasp to maintain separation without altering the piece permanently, and lay the necklace flat to check even spacing before fastening. Choose a secure locking clasp, such as a locking box or screw mechanism, and test it by closing and giving it a gentle tug to ensure it will not open unexpectedly.
Attach a safety chain or secondary catch using securely closed rings or crimped wire so that a single failure will not allow a strand to fall. Give the backup a gentle, confident tug to confirm it bears weight without slipping. Choose low-profile, flat clasps and position them to sit against the nape of the neck with the opening facing downward; this reduces bulk and torque and helps prevent catching and twisting. After fastening, check the lie of the strands while wearing the piece and adjust stoppers or ring positions until the layers sit evenly and fall gracefully.
Add an 18" pearl strand for polished, layered balance.

Create refined spacing between pearls using knots, spacer beads and extenders
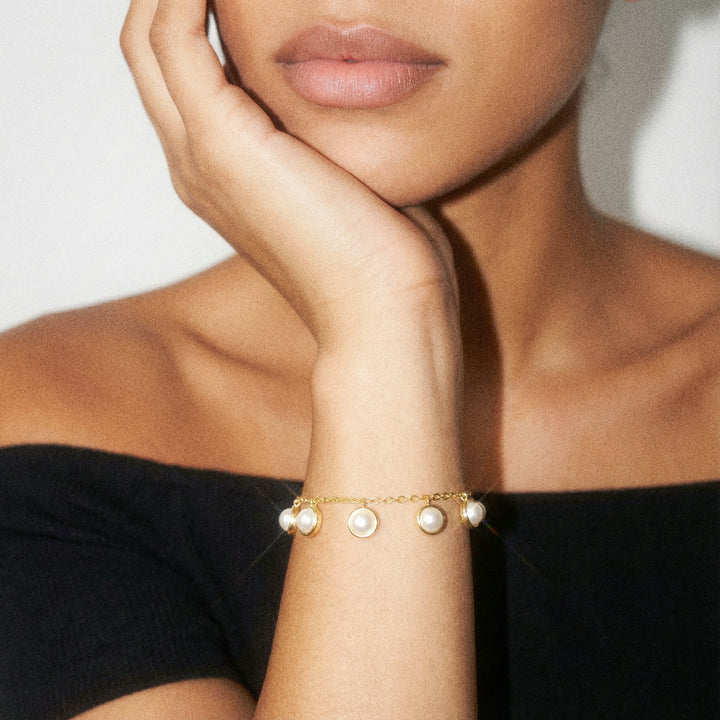
Tie small overhand or surgeon's knots every one to two centimetres, snugged close to each pearl to secure spacing, reduce abrasion and isolate any breakage so the remainder of the strand retains its drape. Add spacer beads or short tubes, particularly at the front, to act as physical buffers that prevent lateral movement and keep strands running parallel. Plan each strand slightly longer than the one above, typically two to four centimetres, and check against a dress or bust form until the centres fall smoothly into place.
Secure each end to a single closure or a multi-strand connector so the lines enter and exit in fixed positions, and add a short safety chain or back clip to limit rotation. Fixing the ends transforms independent strands into a controlled collar that reduces tangling during activity. Try the finished set on a bust or over clothing, moving your head and lifting your arms to check for any movement, then tighten knots, add spacers or shorten any strand that shifts. Store layered pieces flat or on a multi-hook to preserve the spacing and prevent post-wear tangles.
Add an 18-inch freshwater strand for polished layering.

Arrange layered necklaces and secure clasps for tangle-free wear
Choose three distinct strand lengths for the inner, middle and outer layers, spacing them roughly a finger's width apart so each strand sits separately and overlaps are minimised. Anchor each clasp at staggered points along the nape and temporarily secure them to your clothing as you dress to limit rotation and prevent the layers from twisting. Stabilise a short section of beads close to each clasp with small silicone tubes, clear crimp beads or a few tight knots to stop the strands sliding past one another.
To keep layered pearls sitting gracefully, fasten the shortest strand first, then the next, finishing with the longest. Remove them in the reverse order. Hold the strands gently against your chest as you secure each clasp to prevent swinging. Match bead sizes where you can, or add small, discreet counterweights near the clasps so no single strand dominates movement; this helps the layers track together. Test the arrangement by walking and turning your head, watching for strands that cross rather than lie parallel, and adjust clasp positions or add spacers until the layers remain stable. Separation, staggered anchoring, end fixation and a repeatable fastening routine will give a noticeable reduction in tangling for layered necklaces.
Add an 18-inch grey strand for balanced layering.

Create elegant wear and storage habits to prevent tangles
Fasten clasps and store strands flat in a lined drawer or a compartmentalised tray to minimise movement and friction, as overlap and rubbing are the main causes of knots and surface wear. Keep each strand separate by placing it in its own soft pouch, wrapping it around a soft card or looping it on a small spool, and add simple knots or retain existing knots between pearls so long lengths cannot slide past one another. For travel, use tubular rolls, pillbox style organisers or stiff-card loops to keep strands parallel, and when you must stack items alternate lengths and fasten each clasp to prevent ends catching during movement.
Adopt a consistent wear routine: put pearls on after dressing and applying perfume, and remove them before changing clothes or sleeping. Always fasten the clasp before storing to reduce snagging and the repeated motion that causes tangles. Inspect strands regularly for frayed knots or weakened silk. Gentle cleaning removes residues that accelerate wear, and timely restringing prevents slippage and breakage. Worn thread and loose knots allow beads to slide and form tight entanglements, increasing the risk of loss and making knots harder to undo. Make these checks part of your storage and travel preparation so strands remain secure, limiting tangles and preserving the surface of each pearl.
Successful pearl layering depends on choosing complementary lengths, using secure clasps and fixed ends, and adopting simple, repeatable techniques that keep strands separated and protect the pearls' surfaces. Carefully measured increments, stoppers, knots, spacer beads and staggered anchoring help layers remain stable in movement, limit abrasion between strands and reduce the risk of tangling.
Keep the practical steps for measuring and pairing, selecting clasps and stopper systems, creating spacing and arranging layers to hand when assembling or packing your pearls. Test each set by gently moving and photographing it, inspect knots and thread regularly, and store strands flat or in separate compartments so they remain elegant, resilient and ready to wear.