

What sets vintage pearls apart from modern freshwater and cultured varieties?
At first glance, a string of pearls may look timeless, but tiny clues distinguish a Victorian strand from a recent freshwater creation. Reading nacre thickness, drill-hole patina, and period settings turns casual admiration into practical knowledge you can use to assess origin and quality.
This article will identify pearl types and key terms, trace natural formation, examine craftsmanship and settings, and explain how to authenticate provenance and spot value cues. You will also find clear styling and care advice to help you wear and preserve vintage pearls with confidence.
Identify pearl types and key terms
Start with a concise glossary that lets you recognise terms in descriptions or lab reports: natural pearl, cultured pearl, freshwater pearl, saltwater pearl, bead-nucleated, tissue-nucleated, nacre, lustre, overtones, orient, baroque, and matching, each defined by formation method, nucleus presence, surface structure, and optical effects. Follow a routine visual inspection with a 10x loupe to check drill holes for concentric nacre growth, examine knotting and frayed silk to spot hand-knotting, note clasp and hallmark styles for provenance clues, assess surface blemishes and overtones under diffused light, and compare symmetry and size variance across the strand. Perform simple tests—gently rub a pearl across the front teeth to detect a subtle gritty texture that indicates solid nacre, shine transmitted light to reveal a bead nucleus, and escalate to X-ray or gem lab analysis when a definitive identification of bead-nucleation versus solid nacre is required, because each test reveals different layers of evidence.
Material patterns provide evidence: vintage natural or early bead-cultured pearls often show thicker nacre and deeper, mixed overtones owing to slower growth or older farming techniques; modern freshwater pearls tend to be tissue-nucleated with solid nacre and varied, sometimes baroque shapes; bead-nucleated saltwater cultured pearls typically display a visible nucleus on X-ray and greater consistency of roundness. Use these regularities to form educated hypotheses about an item, but treat X-ray or laboratory reports as the authoritative confirmation when provenance or composition matters. When buying, request close-up images or a lab report, ask whether the necklace has been restrung, inspect knotting quality, and prioritise professional restringing if cords show wear. Care for pearls by avoiding harsh cleaners and ultrasonic baths, storing strands flat to protect nacre, and handling vintage pieces gently to preserve their thicker nacre, complex overtones, and any hand-finished attributes that contribute to their character.
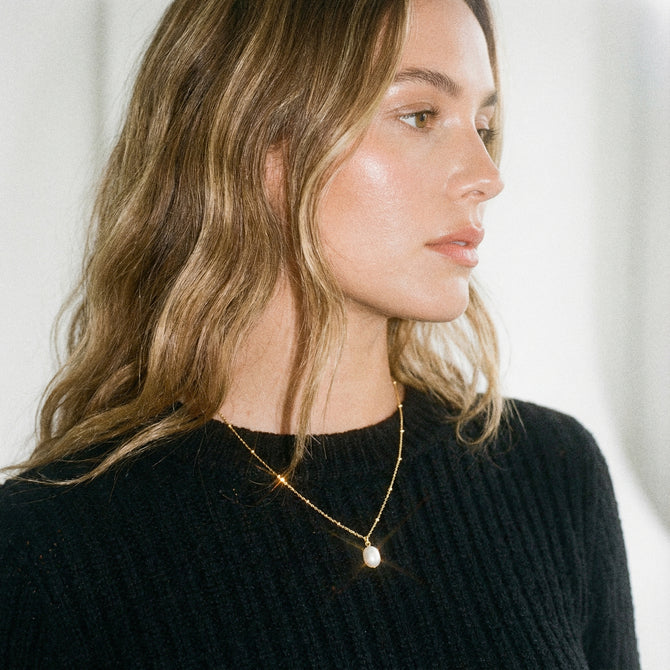
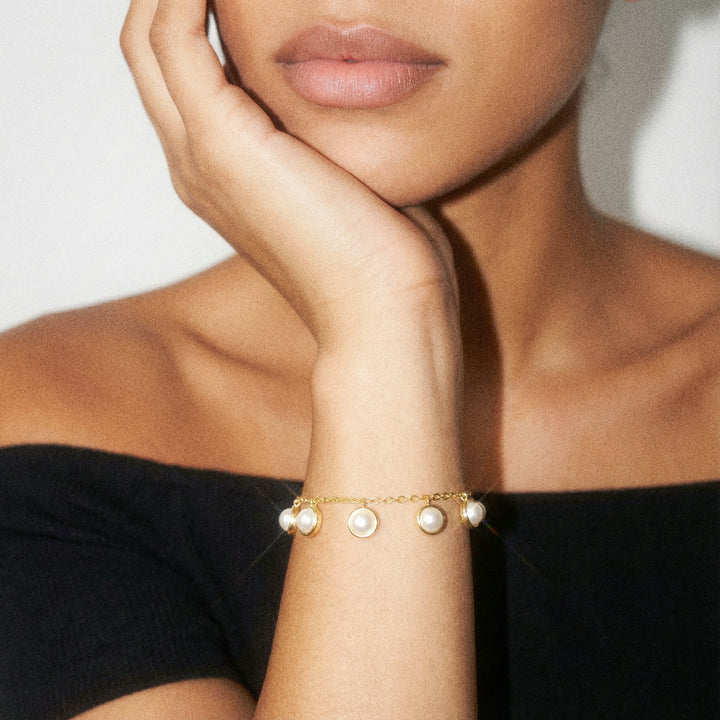
Try a vintage-inspired freshwater pearl bracelet with textured gold accents 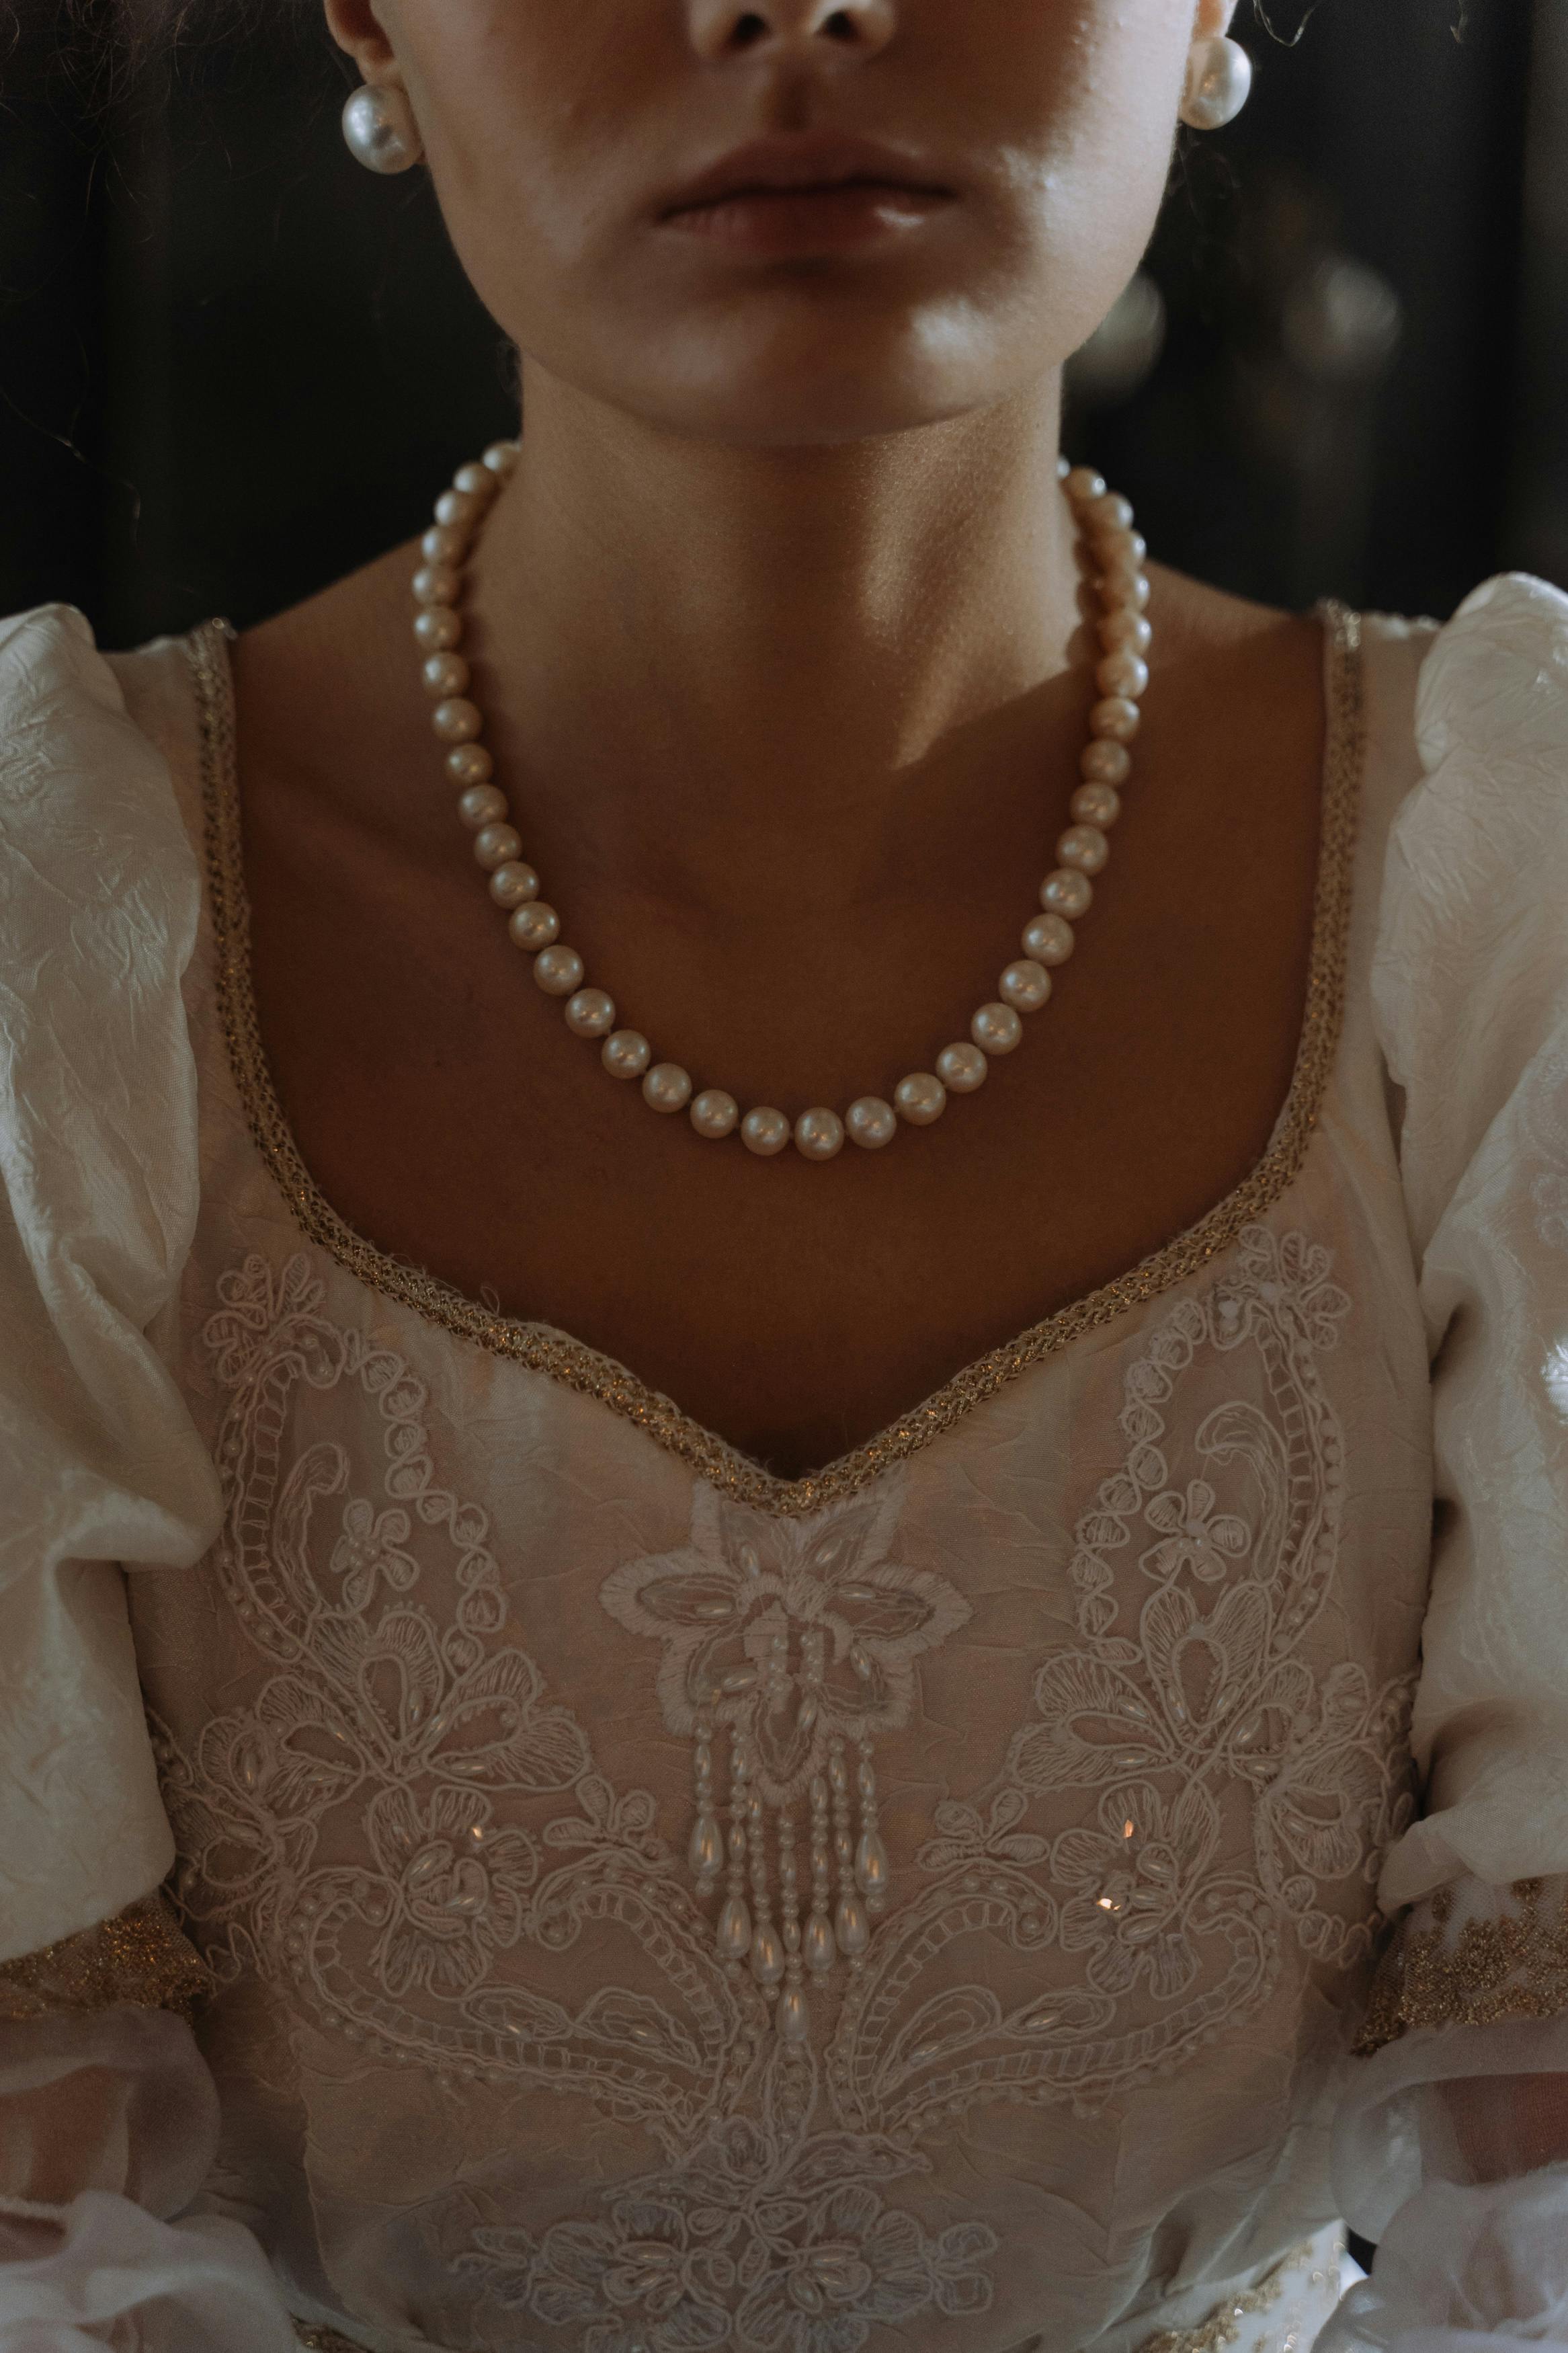
Trace origins and natural formation
In wild molluscs, mantle tissue deposits concentric nacre layers around an irritant, producing irregular shapes, variable nacre thickness, and a unique orient. By contrast, cultured pearls usually contain an introduced nucleus that X-ray radiography will reveal, so ask for X-ray or high-magnification images to confirm a nucleus and to measure nacre thickness. Species and habitat also shape nacre chemistry and orient, with saltwater oysters and freshwater mussels leaving different trace element and isotopic signatures that vintage pearls can preserve. When possible, request species identification, provenance, or spectrometric and isotopic reports to test those environmental fingerprints.
Inspecting physical ageing markers helps distinguish natural vintage pieces: a soft patina, subtle surface wear, drill hole erosion, conchiolin layers, and tiny organic inclusions point to natural formation and long use, and these features are best examined under a 10x loupe or microscope for layering at the drill hole, uneven lustre, and micro-pitting that photographs may hide. Historically, harvesters often left pearls with minimal finishing, whereas modern examples commonly undergo bleaching, dyeing, or other treatments that change colour and surface uniformity, so request UV checks, spectroscopy, and any conservation or handling records. For scientific verification, rely on X-ray radiography to show bead nuclei and nacre thickness, microscopy to reveal growth rings and surface structure, and mass spectrometry or isotopic analysis to distinguish freshwater from marine origins, and seek independent laboratory reports showing an absence of a nucleus, continuous concentric layers, and marine isotopic markers when assessing a pearl's natural versus cultured origin.
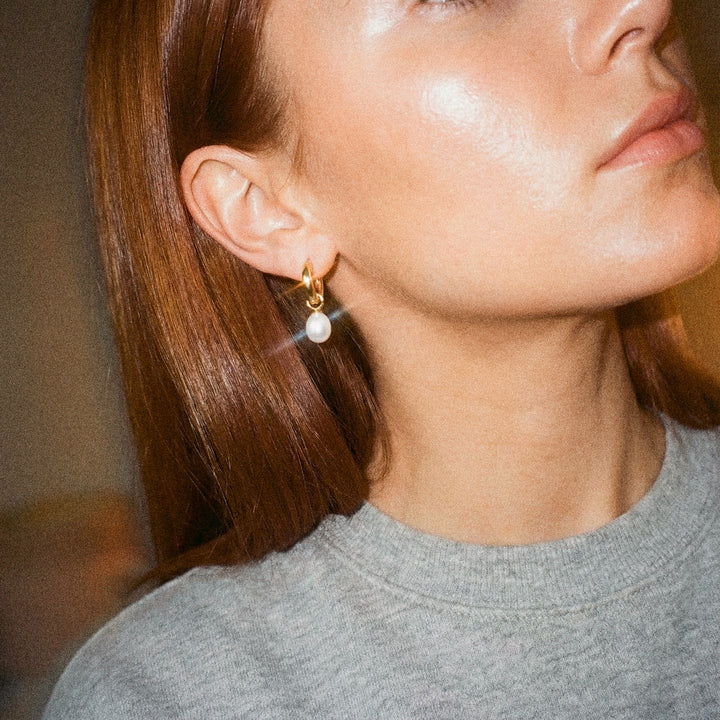
Try a freshwater pearl bracelet showing natural vintage patina 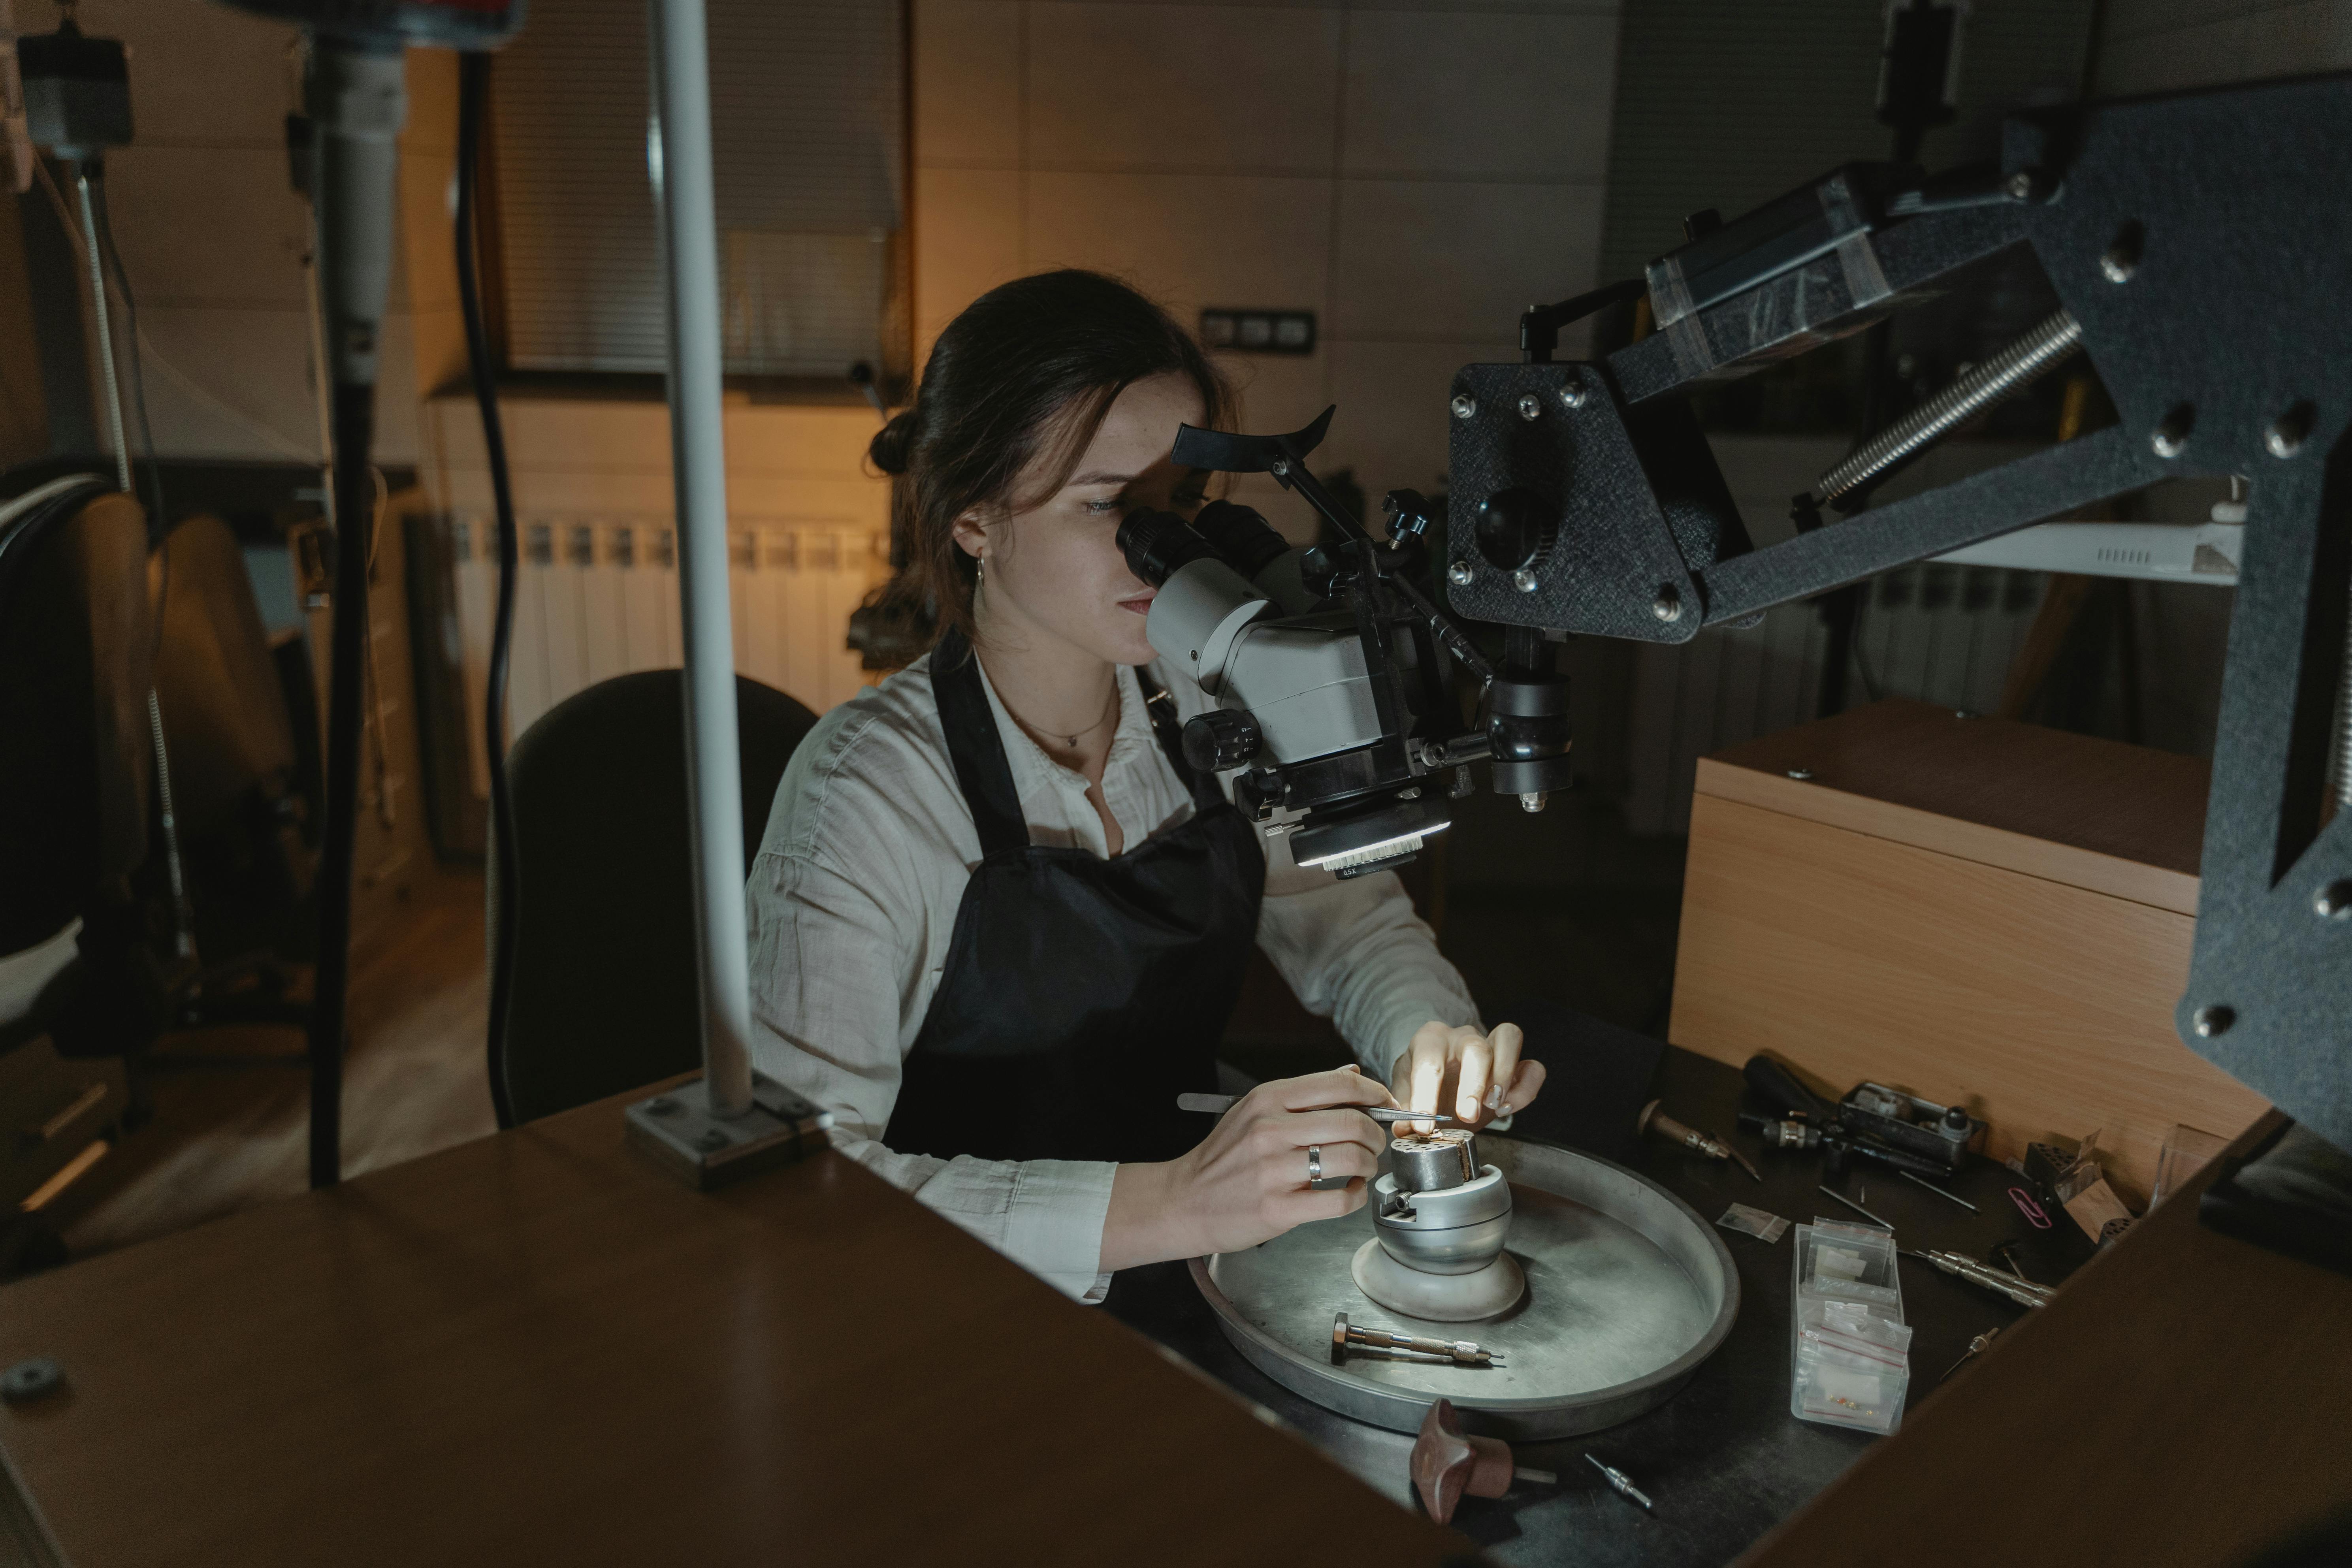
Examine craftsmanship and settings
Traditional settings such as closed-back cups, collet settings, bezels, and hand-soldered prongs change the way a pearl sits and how light plays on its surface, so a pearl may appear deeper set, more reflected, or partly shadowed depending on construction. Under a loupe you can spot solder beads, file marks, and softened prong tips, while metal choices and finishes, such as open versus closed backs, yellow gold versus white metal, or historic backing foils, leave visual cues like discolouration, glue residue, or a local change in lustre. These surface and junction clues help distinguish original mounts from later alterations.
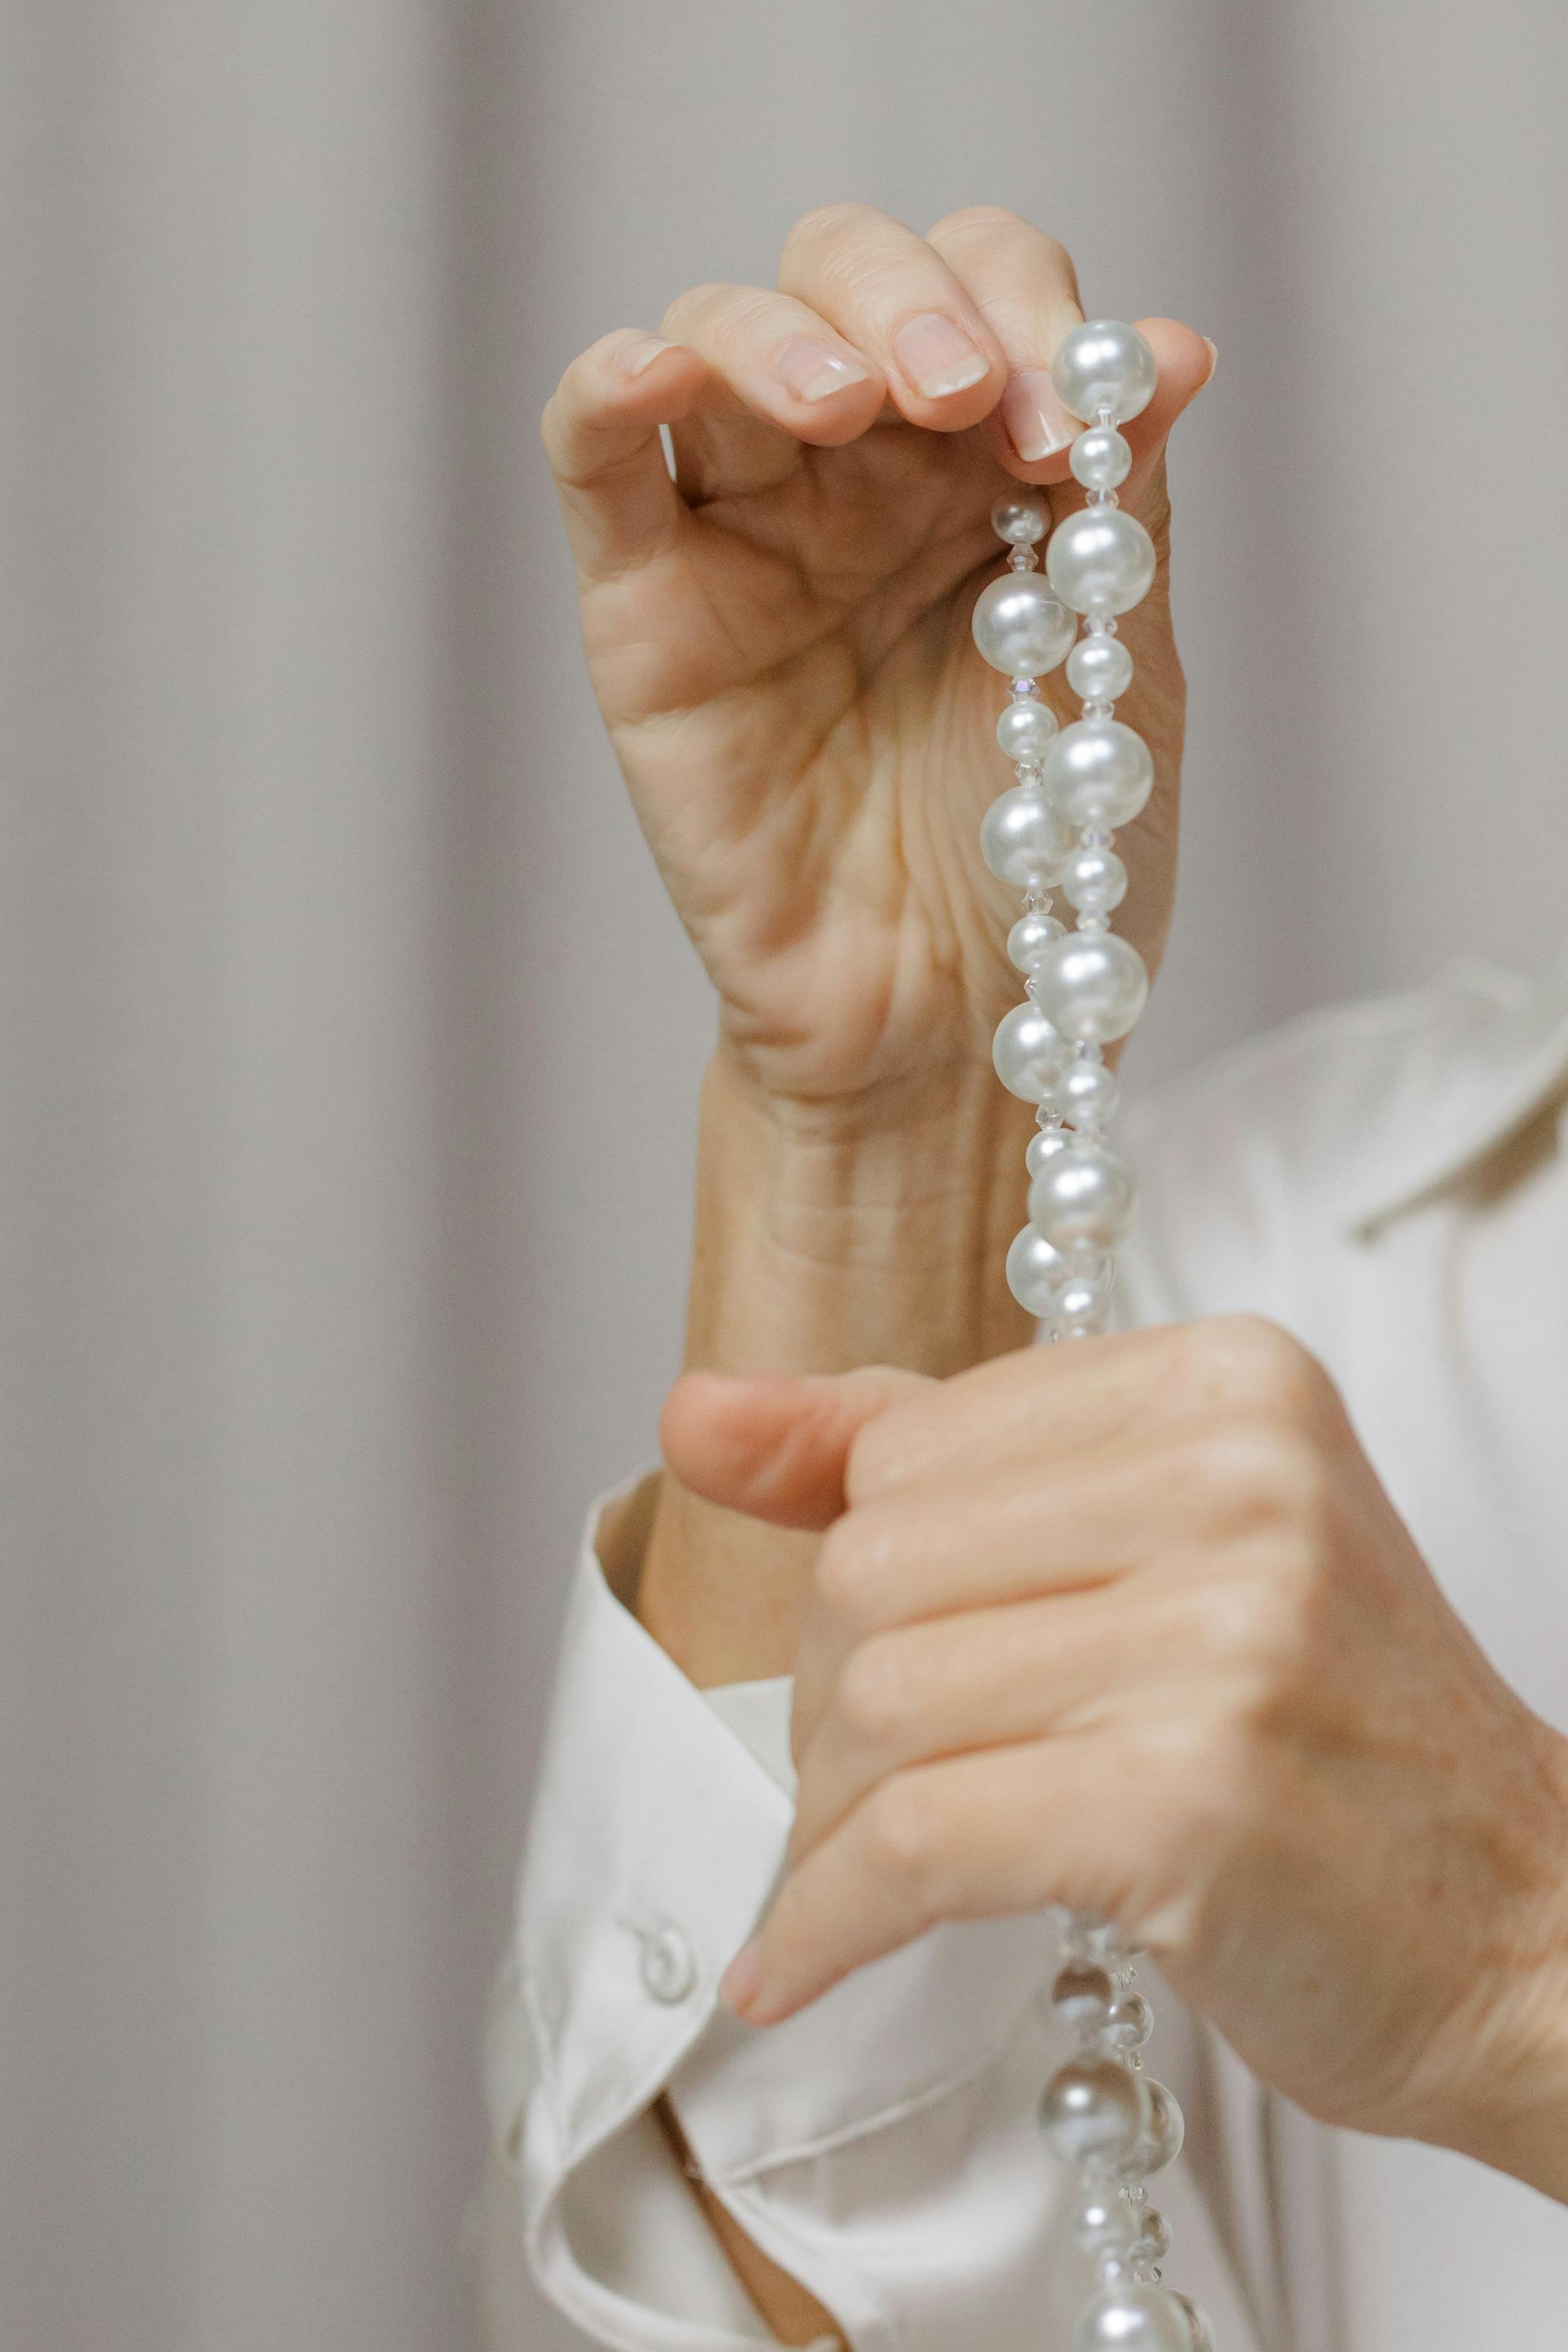
Strand construction reflects workmanship: single or double knotting on silk, evidence of rethreading, and the way clasps are integrated indicate whether pearls are original to their strand. Inspect hole alignment, edge wear around drill holes, and knot tightness to assess handling and replacement history. Hand-worked details, including seed-pearl surrounds, millegrain, hand engraving, and bespoke clasps, display subtle asymmetry and individual tool marks rather than uniform machine finishing. Use careful magnification to check for redrilling, replaced pins, or glued-in pearls, note hallmarks and clasp construction for maker and metal clues, and consult a jewellery conservator before cleaning or repair to preserve original craftsmanship.
- Examine junctions under magnification: use a 10x loupe to spot solder beads, file marks, softened prong tips, or irregular solder lines; note discolouration, glue residue, or local changes in lustre at backs and junctions as indicators of rework or replacement.
- Assess strand and drill-hole evidence: check knot type and tightness, hole alignment and edge wear, and signs of redrilling or glued-in pearls; mismatched clasp integration, uneven seed-pearl surrounds, or off-centre drill holes point to rethreading or later interventions.
- Use safe inspection techniques and record findings: photograph motifs and junctions with raking light and a scale before handling, use angled LED or fibre-optic illumination and a soft probe for gentle tactile checks, and handle on a padded tray with clean hands or gloves to avoid adding residues.
- Decide conservation actions from observed evidence: document all abnormalities and hallmarks for appraisal, avoid home cleaning or aggressive polishing that could remove solder, foil, or adhesives, retain original components when possible, and consult a jewellery conservator for cleaning, repair, or irreversible work so that provenance and maker clues are preserved.
Authenticate provenance and spot value cues
Use a 10x jeweller's loupe to inspect nacre and surface for concentric growth lines, chips, or varnish, because thick, even nacre, sharp reflections, and a natural orient point to genuine saltwater or well-grown cultured pearls, while cloudy reflections or surface coatings often signal treatments or lower-grade freshwater beads. Examine drill holes, knots, and metal fittings for age and repair: older silk knots, hand-stitched joins, patina on clasps, and drill-wear consistent with long-term use support vintage provenance, whereas modern knots, recent repairs, or plastic-lined drills suggest resale or refurbishment. Check a strand for matching symmetry and weight consistency, since high-quality vintage saltwater strands tend to show uniform size, shape, and lustre, while modern freshwater production commonly yields greater variation and lighter weight for a given diameter.
When provenance or rarity affects value, request objective documentation and testing, such as independent laboratory reports, X-ray or radiography to distinguish natural from bead-nucleated pearls, and any prior appraisals or sales records, and verify certificates with the issuing laboratory. Spot common treatments under magnification: uneven colour saturation near drill holes suggests dyeing, a glassy, peelable film indicates coating, and an unusually plastic-like brilliance can point to resurfacing. If signs are ambiguous, consult a trained gemmologist for non-destructive laboratory analysis to confirm origin and treatment status.
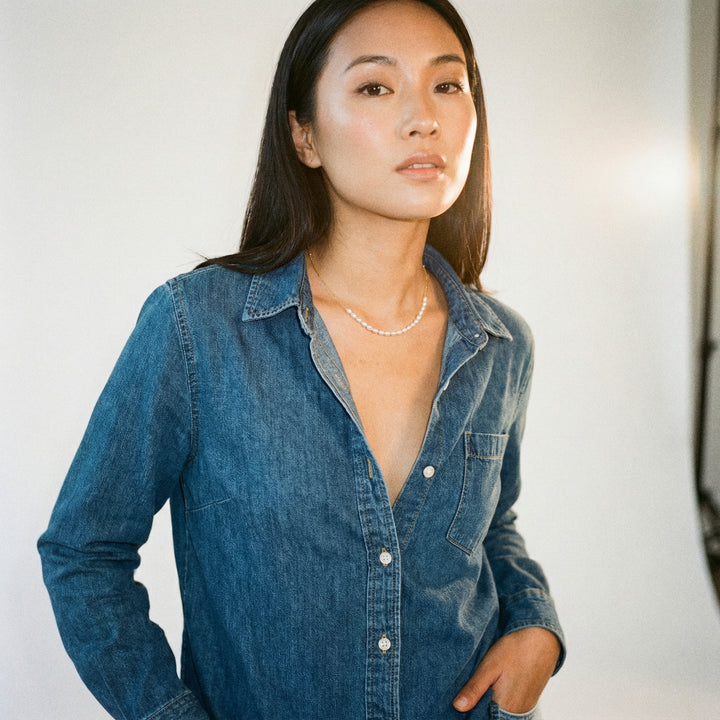
Inspect this freshwater strand for even nacre and true lustre. 
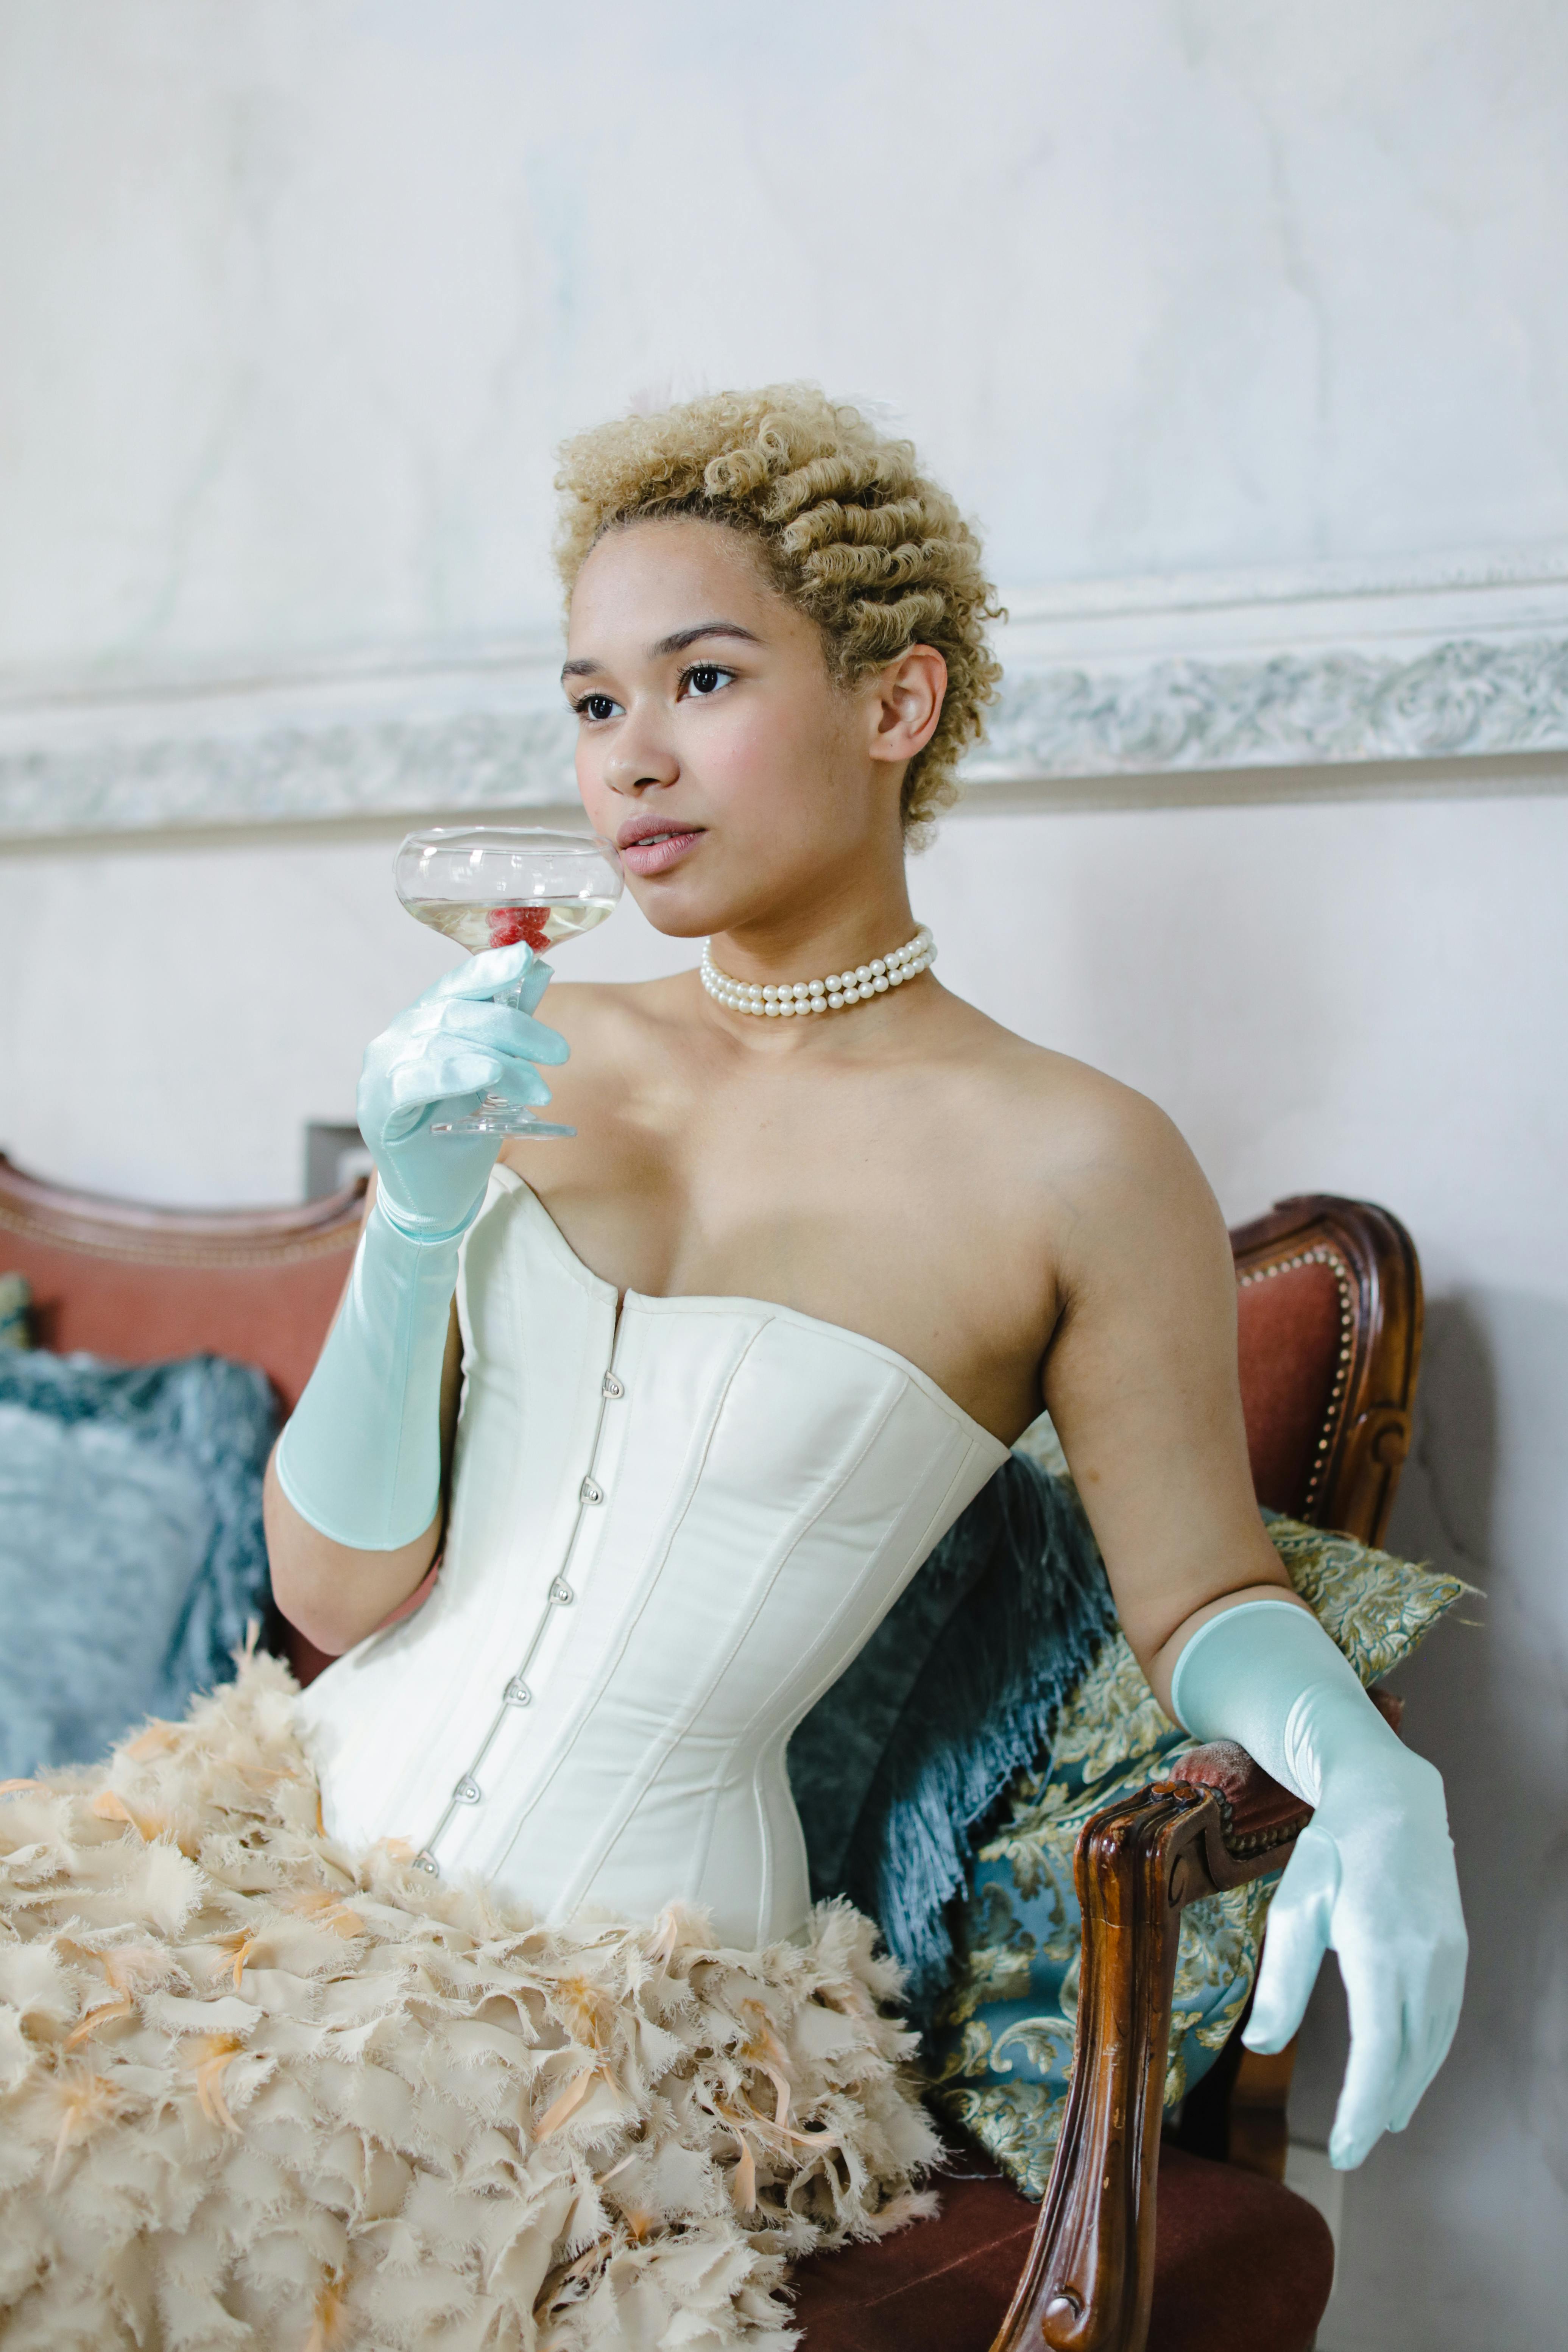
Style and care pearls for modern wardrobes
Pearl origin shapes what you see and feel: natural examples form without intervention, saltwater cultured pearls are created by mantle tissue grafting around a bead nucleus, and freshwater cultured pearls grow from mantle grafting or irritation in denser tissue without a central bead, so nacre thickness, resilience, and colour vary with the host species and growing environment. Simple checks help distinguish types, such as examining drill-hole appearance and polish, weighing a pearl against its size to sense density, and looking for concentric growth lines or layered nacre under magnification. Period-typical stringing, knot spacing, clasp styles, and drill techniques also reveal age or later repairs, so inspect knots and silk condition, photograph any hallmarks, and reserve restringing for when knots fray or the strand goes slack.
Vintage pearls typically show a deeper, layered lustre and a subtle patina from thicker nacre and long wear, which you can spot as strong reflections, fine surface irregularities, and gentle colour variance that changes how a pearl sits against different fabrics. Style them by layering a single vintage strand with minimalist chains, mixing lengths and textures for a contemporary silhouette, or pairing pearls with denim or tailored suiting to shift formality while balancing pearl size with neckline and face shape. For day-to-day care, wipe pearls after wearing with a damp, lint-free cloth, avoid chemical cleaners and ultrasonic devices, and store them flat in a soft, breathable pouch away from perfume and cosmetics. For any deep cleaning, repolishing, or conservation work aimed at preserving original surface and provenance, consult a qualified specialist rather than attempting aggressive treatments yourself.
Vintage pearls reveal history through material and craft: nacre thickness, drill-hole patina, and period settings offer practical clues to origin and quality. Combining visual inspection, simple tactile tests, and, where needed, X-ray or independent laboratory reports gives a reliable path to distinguish natural, bead-nucleated, and freshwater cultured pearls.
Apply the identification, formation, craftsmanship, and authentication checks described above to form evidence-based judgements, prioritise conservation, and request expert analysis when provenance or treatment affects value. Handle vintage strands gently, store and restring according to condition, and let the pearls' layered lustre, drill-hole, knotting, and clasp clues guide your styling and conservation choices.