
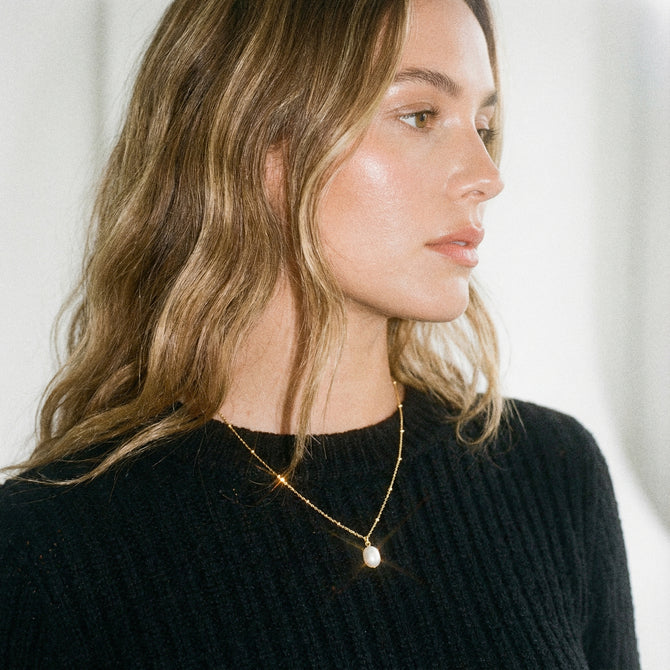
Have you ever bought a bracelet that pinched, swung awkwardly, or failed to flatter your wrist? A properly fitted bracelet sits securely, moves naturally, and enhances proportion.
This guide shows how to assess your wrist anatomy, match each style to its ideal fit, measure accurately with simple tools, convert those measurements into sizes and adjustment options, and confirm fit while maintaining and styling your pieces. Follow these clear steps to stop guessing, avoid uncomfortable choices, and wear bracelets with confidence.

Image by Julia Malushko on Pexels
Assess your wrist anatomy and comfort preferences
Measure with a flexible tape or a looped piece of string against a ruler, recording a snug and a relaxed wrist measurement and the widest part of the hand or knuckle to check clearance for slip-on bangles. Note whether your wrist is slender, bony, or full, and whether wrist bones protrude, because delicate chains sit flatter on slim wrists while wider cuffs or stacked pieces balance broader wrists, and prominent bones often require narrower links or slightly larger diameters to avoid pressure points. Use the relaxed measurement plus about 1.5 to 2.5 centimetres for most chain bracelets, ensure a rigid bangle’s interior circumference clears the knuckle with an extra 2.5 to 4 centimetres for comfortable on and off, and test by making a fist and flexing the wrist.
If you expect activity, choose a snugger fit, a secure clasp, or a bracelet with an extender, and wear a candidate bracelet for an hour while doing typical movements to spot rubbing, twisting, or catching. Build stacks by mixing one statement piece with finer chains, vary widths to create balance, and leave small gaps so each item articulates on the wrist. Position bracelets to complement a watch rather than crowd it, using contrast in scale to draw the eye. Adjust allowances and repeat the movement test after any size change so the chosen fit works for both comfort and function.
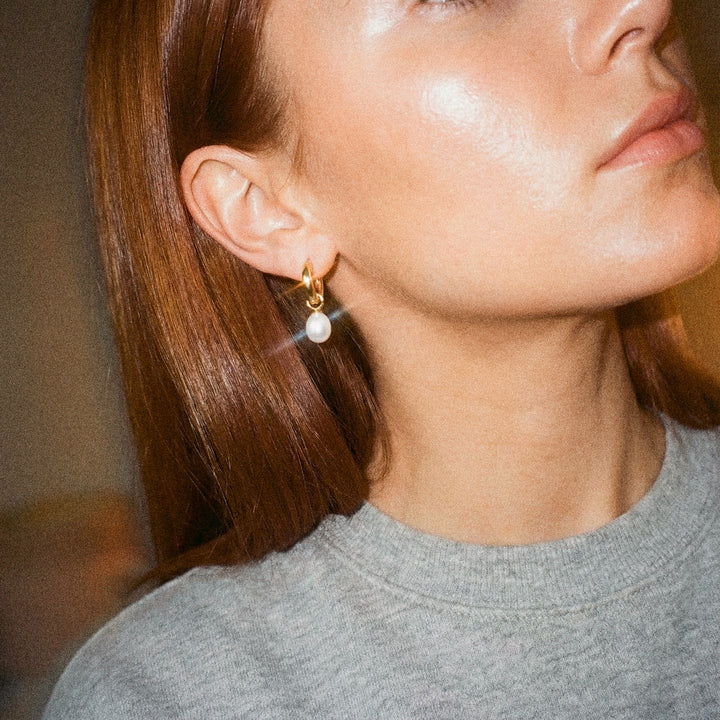
Try an adjustable pearl bracelet for a refined, comfortable fit

Image by Pavel Danilyuk on Pexels
Match bracelet styles to their ideal fit
Measure your wrist at the bone with a soft tape measure or a piece of string, mark the length, then add 1 centimetre for a snug fit, 2 centimetres for a comfortable fit, or 3 centimetres for a loose fit, and convert centimetres to inches by multiplying by 0.39. For rigid bangles and stackable bracelets, measure the widest part of the hand at the knuckles and divide that circumference by 3.14 to calculate the bangle inner diameter, making sure it clears the knuckle to slide on. Choose open cuffs that allow a one-finger gap and gentle adjustment to avoid pinching, and pick fine chain or tennis-style bracelets with about 1 to 2 centimetres extra so charms and links move freely.
Match bracelet width to wrist size: narrow bands up to about 4 millimetres suit slimmer wrists, medium bands of 5 to 10 millimetres suit average wrists, and wider bands over 10 millimetres balance larger wrists. Layer by starting with one anchor piece, then add two or more thinner bracelets at slightly different lengths, allow 0.5 to 1 centimetre differences, alternate textures and widths, and position the larger piece nearest the hand so it reads as the focal point. Try bracelets through typical movements to test for pinching and rotation, ensure the clasp rests under the wrist and does not press into skin, and use link removal, extenders, or sliding clasps to refine the fit. Expect elastic, leather, and metal to behave differently under weight, and give heavy or chunky pieces slightly more room so their mass does not force rotation.
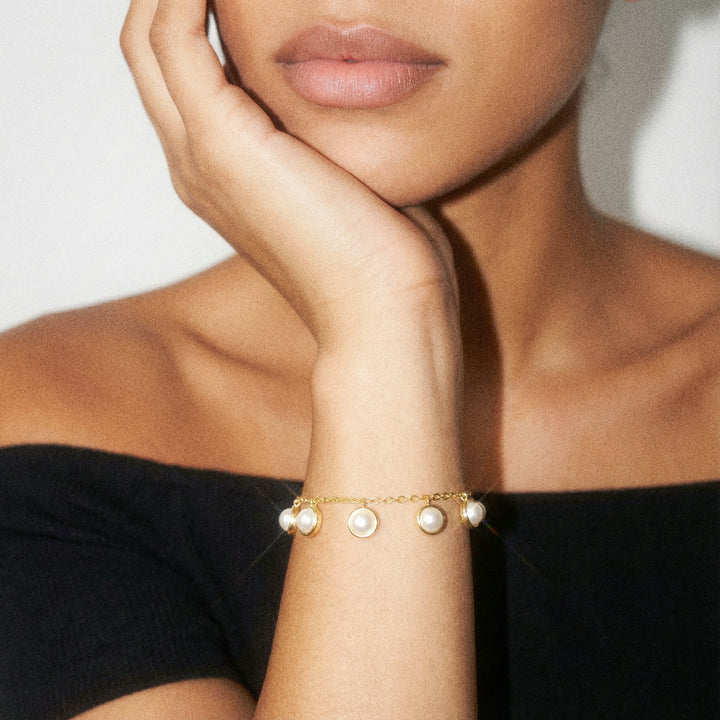
Pick an adjustable pearl-and-gold charm bracelet for effortless layering

Image by Pavel Danilyuk on Pexels
Measure accurately using simple tools
Wrap a soft tape measure or a piece of string snugly around the wrist at the bony projection where a bracelet normally sits, mark the overlap, then measure the string against a ruler to the nearest millimetre. Repeat on both wrists and use the larger reading if you wear bracelets on your dominant hand, and photograph or note measurements for future purchases. To check bangle fit, divide the measured circumference by 3.1416 to get the diameter in centimetres; for example, an 18 centimetre circumference corresponds to about a 5.7 centimetre inner diameter.
Add allowance according to style: fitted or sport bracelets need roughly 1.5 to 2 centimetres so the piece sits close but can move, everyday chain or charm bracelets need about 2.5 to 3 centimetres for comfortable movement and clasp clearance, and loose, stacked, or cuff styles require 4 centimetres or more to allow shifting and layering. Account for construction and width, because wide bands, chunky beads, or rigid links reduce available slack and so increase your allowance by a few millimetres per substantial element. Measure an existing bracelet by laying it flat and measuring its inner circumference to use as a direct comparison, or test bangles on a mandrel or rounded object. Use a small caliper or ruler for bead and link thickness, a paper sizing strip or an old bracelet as a reference, and always verify whether clasps or extenders alter the length you need.
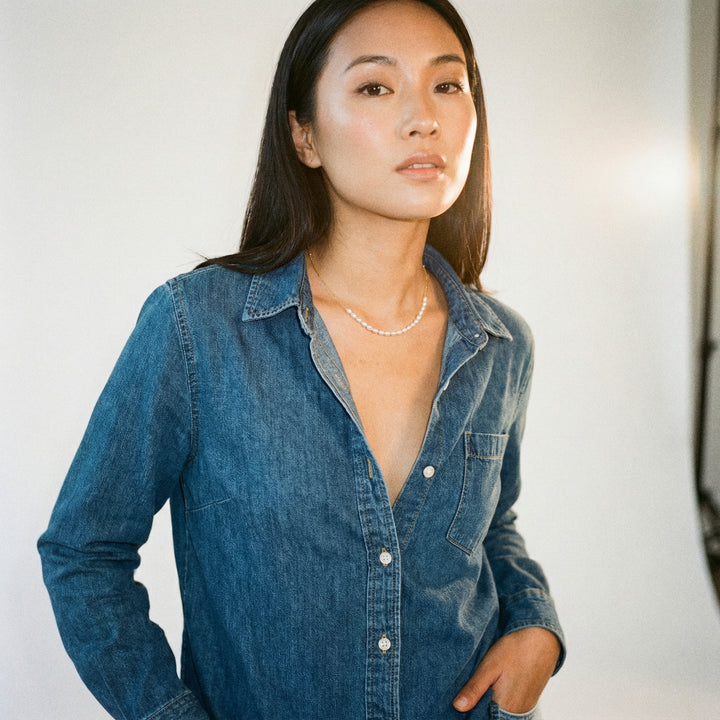
Slim pearl-and-gold bracelet suits everyday wear with slight allowance

Image by Luis Zambrano on Pexels
Convert measurements into bracelet sizes and adjustment options
Use a flexible tape or wrap a strip of paper or string and measure it against a ruler, taking each measurement twice and recording both wrist circumference at the bony point and the widest part of the hand or knuckles for slip-on styles, because the knuckle measurement, not the wrist, determines whether a bracelet will pass over the hand. Convert wrist circumference to bracelet length by adding 1.0 cm for a snug fit, 1.5 cm for a comfortable fit, or 2.0 cm for a loose fit, and convert circumference to inner bangle diameter by dividing by pi, so a 16.0 cm wrist corresponds to a diameter of about 5.1 cm. Elastic or stretch bead bracelets need little extra allowance because they expand, lightweight chains typically require 1.0 to 1.5 cm added, heavier pieces should sit closer to reduce rotation and catching, and rigid cuffs and bangles must be chosen by inner diameter and gap rather than by length to ensure a proper fit.
For adjustments, try safe at-home fixes such as clasp extenders, silicone shims, or adding or removing spacer beads, and reserve permanent metal work for a professional jeweller who can remove or add links, shorten chains, resize metal cuffs, or restring elastics to preserve finish and integrity. Fit-test a chosen size by wearing the bracelet through common motions, such as opening a door and typing, to check for rubbing, catching, or restriction, and leave slightly more room when stacking several pieces to prevent pinching. Remember that climate and body changes alter fit over time, so verify comfort before committing to a final size and plan for minor adjustments if needed.
Layer a 9mm pearl for elegant, comfortable stacking

Image by Pavel Danilyuk on Pexels
Confirm the fit, maintain it, and style with confidence
Measure your wrist with a soft tape or a strip of paper, mark where it overlaps, then add an allowance based on style: about 1.5 to 2 cm (0.6 to 0.8 in) for a snug chain, 2.5 to 3.5 cm (1 to 1.4 in) for a drapey bracelet, and enough extra to clear the widest part of your knuckle for rigid bangles. Check fit by style: a bangle should slip over the knuckle without sliding off the wrist bone, a cuff should sit with a small visible gap and remain stable when you move your hand, and a chain or link bracelet should allow one finger underneath without sliding to the palm. For stretchy or beaded bracelets, aim for security without constricting circulation.
Simulate daily movement by rotating your wrist, typing, reaching, and mimicking common tasks to spot pinching, catching on clothing, excessive rotation, or noise. If a bracelet drifts toward the palm or jingles, choose a smaller size or add a stabiliser. Use removable links or extenders for short-term adjustments and ask a jeweller to alter links for a permanent change, while conditioning leather prevents shrinkage and storing rigid pieces on a form preserves shape. When styling, stack odd numbers, mix widths and textures, place heavier pieces where you want the focal point because weight makes them sit lower on the wrist, and consider sleeve width so bracelets remain visible and comfortable.
A properly fitted bracelet balances comfort, proportion, and function, so it sits securely, moves naturally, and complements your wrist. Simple measurements and modest allowances, for example adding about 1 to 3 centimetres for chains or 2.5 to 4 centimetres for rigid bangles, reliably reduce pinching and rotation during everyday movements.
Use the five-step approach: assess anatomy, match style to fit, measure accurately, convert measurements, and confirm the fit, to turn guessing into consistent results. Test bracelets through typical motions and adjust with extenders, stabilisers, or a jeweller when needed, so your pieces enhance proportion, remain comfortable, and support confident wear.