
Pearl studs can lift an outfit instantly, yet choosing a size that flatters your earlobes often feels unexpectedly tricky. Do you opt for petite pearls that almost disappear, or larger studs that risk dominating your features?
This guide explains how visual weight, earlobe proportions, face shape, setting, and backing influence both appearance and comfort, and it ends with a simple checklist to help you decide. Try concise measurement and fitting tips to test sizes quickly and choose studs that balance style and wearability.

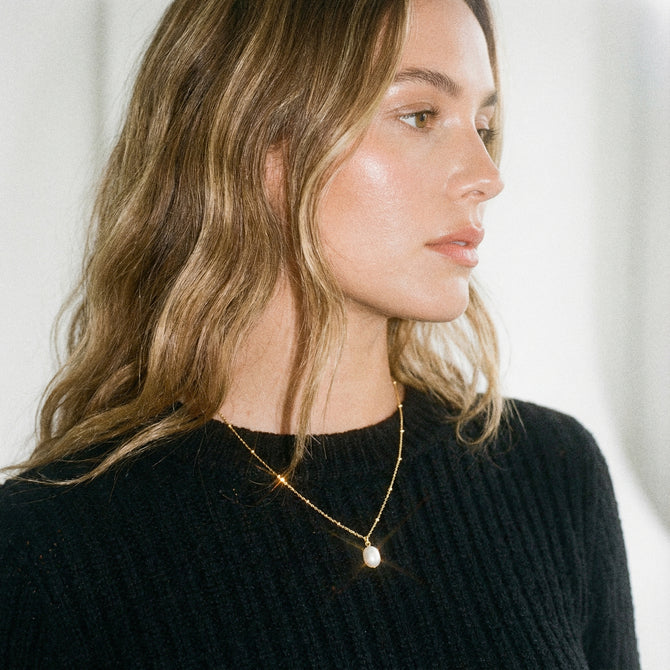
Image by 湉双 陈 on Pexels
Understand pearl sizes and their visual weight
Measure your earlobe height with a ruler, then choose a pearl diameter that is roughly 30 to 50 percent of that height for a subtle look, 50 to 75 percent for a balanced everyday stud, and 75 to 100 percent for a statement. Common millimetre ranges help translate those percentages: small studs of about 4 to 6 millimetres read delicate, medium studs of about 7 to 9 millimetres read classic, and larger studs of 10 millimetres or above read bold. Bear in mind that settings such as bezels, halos, or clusters add visual width, so the same pearl will appear larger when surrounded by metal or stones.
High lustre and strong reflections make a pearl look more prominent, smoother surfaces read larger than textured ones, and tonal contrast with your skin or hair increases perceived scale. To test sizes at home, cut paper circles to the millimetre diameters you are considering or use round stickers, place them on your earlobe in natural light, and take straight-on photos at arm's length for accurate comparison. Use those images to decide whether to emphasise or minimise presence by choosing lustre, colour, or a surrounding setting, and remember that the stud back and how the stud sits on the lobe affect how size presents in real life. Style choices matter: smaller studs suit delicate features and continuous ear stacks, medium sizes work for most outfits and daily wear, and larger studs pair well with short hair or formal looks.
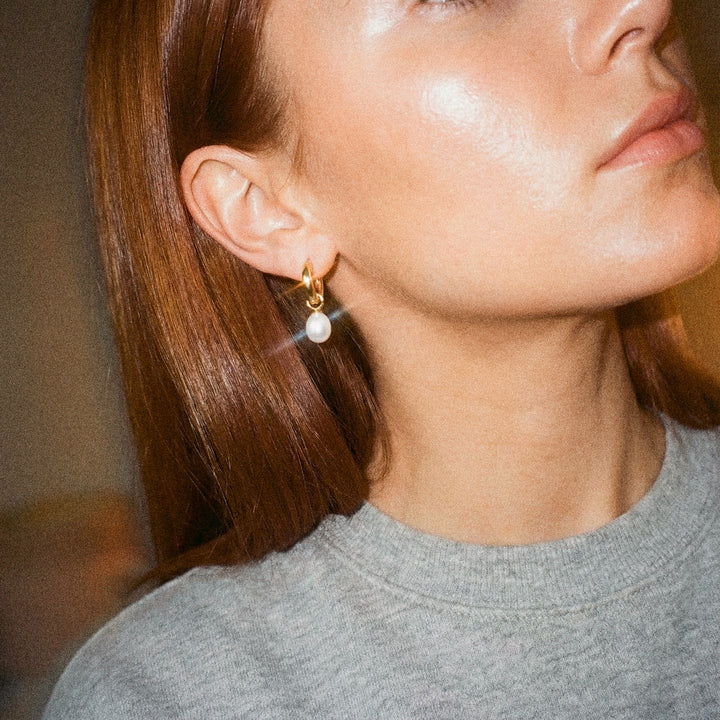
Try delicate 4mm grey pearl studs for a subtle look

Image by Dmitry Zvolskiy on Pexels
Match pearl size to your earlobe proportions and face shape
Measure your earlobe in millimetres with a small ruler or hold a familiar coin alongside the ear, then choose a pearl whose diameter roughly equals the lobe height for balance or about two thirds of that height for a subtler effect. Use practical size ranges as a starting point: around 4 to 6 mm for narrow earlobes and petite faces, 6 to 8 mm for most earlobes and everyday wear, 8 to 10 mm for medium to larger earlobes or a dressier look, and 10 mm plus for a clear statement, while considering how much of the lobe each size covers when deciding. Account for setting and metal, because white metal reflects light and can make a pearl look larger, a halo or bezel adds apparent diameter, and a deep cup setting can hide part of the pearl. Experiment with different settings to find the proportion you prefer.
Try on and photograph pearls at normal social distance, taking front and 45-degree photos on a phone and comparing the result to a familiar object such as a coin. Match pearl size to face shape and feature proportions: round studs soften angular faces, slightly larger studs create a focal point on round faces, and scale pearls to prominent features so they balance the face rather than overwhelm it. If your earlobes are uneven, size to the larger lobe or choose settings that visually balance the pair.
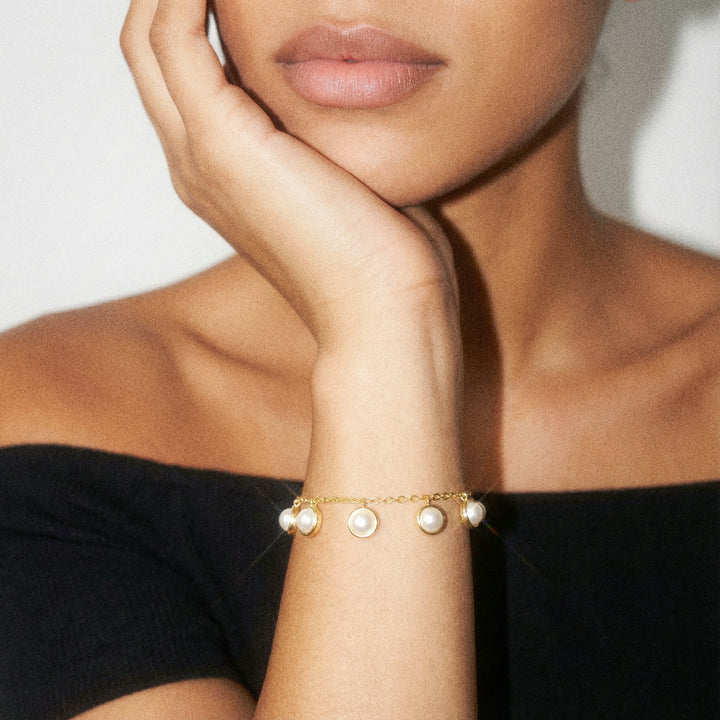
Try sterling silver freshwater pearl studs for balanced, everyday elegance

Image by cottonbro studio on Pexels
Use size and setting to control the visual impact
Start by measuring your earlobe across in millimetres, then choose a pearl diameter that sits roughly one third to one half of that width for a balanced appearance, or closer to two thirds for a deliberate statement. For example, a 6 mm pearl will read relatively large on a narrow lobe, while an 8 mm pearl will look more balanced on a wider lobe, helping you visualise proportion. Simple in-ear proportion gives a reliable baseline before you factor in setting or styling.
Setting changes perceived size: a halo of small stones or a metal surround increases visual diameter, a bezel creates a clean, larger edge, and an open cup or low profile setting keeps the pearl visually compact. Hair worn up, face shape, and contrast between metal, pearl, and skin alter impact, so try both straight-on and side photos to compare how studs read. At home, hold measured beads or cut paper circles to your ear and photograph them with a ruler for scale to decide which size flatters most. Choose secure backs that prevent tilt so pearls sit centred, opt for graduated sizes for stacked piercings with the largest at the base, and check pearl shape and nacre thickness as they affect apparent bulk and lustre.
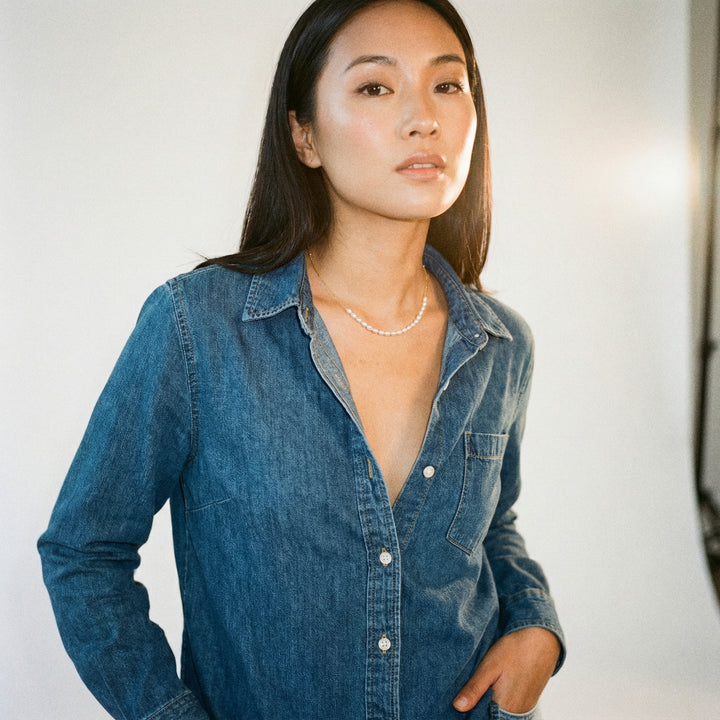
Try these low profile pearl studs for balanced everyday wear

Image by cottonbro studio on Pexels
Choose the right backing and fit for all day comfort
Measure your earlobe by holding a sample pearl against it and aim for a diameter that covers roughly half to two thirds of the visible lobe; as a guideline, consider around 4 to 6 mm for very petite lobes, 7 to 9 mm for average lobes, and 10 mm plus for larger lobes or statement studs. Test the proportion by refining by eye while the pearl sits against the lobe in natural light, and note how pulled-back hair or a minimal neckline makes slightly larger studs read more balanced. Match size to jewellery layering and facial features to ensure the stud complements, rather than competes with, other pieces.
Choose a backing based on how it distributes weight and secures the stud: push backs are quick and low-profile, screw backs increase security, and flat disc backs spread pressure for heavier pearls. Fasten the earring, walk for an hour, then check for soreness, noticeable lobe tilt, or a post that protrudes beyond the fastener to assess comfort. If the lobe tips or the stud feels heavy, downsize the pearl or swap to a broader backing, and confirm the post length sits flush against the back. Before committing to a pair, measure each pearl with calipers, roll them on a flat surface to confirm roundness, and view them in natural light to compare nacre, lustre, and colour so they read as an even set when worn.
Choose sterling silver button studs for balanced, comfortable pearl wear.

Image by cottonbro studio on Pexels
Try different sizes and follow a simple decision checklist
Measure your earlobe height and width, then apply a proportion rule: pearls about half the earlobe height read subtle, matching the height read classic, and 1.5 to 2 times the height read bold. As a quick guide, small lobes under 10 millimetres often suit 4 to 6 millimetre pearls, medium lobes 10 to 15 millimetres suit 6 to 9 millimetre pearls, and larger lobes over 15 millimetres suit 9 to 12 millimetre pearls. Use the numbers to narrow options, but judge by appearance and proportion against your jawline and neckline rather than diameter alone.
Try a repeatable routine: pin two or three candidate sizes to a card or use trial posts, photograph front and three-quarter views with hair up and down, and view the images at natural scale. Wear the studs while you walk and turn your head to test how movement and comfort alter perceived size, and keep a shortlisted pair on for a short period before committing. Account for metal colour and fitting, because white metals reflect into the pearl and tend to read the pearl cooler and slightly larger, warm metals add warmth and can soften perceived size, and how far the pearl sits from the lobe changes the silhouette. Compare the same diameter in different surface qualities and shapes, since high lustre, smooth round pearls catch more light and appear larger, while baroque or off-round shapes can create a bigger presence without increasing diameter.
Pearl studs flatter when size, setting, and lustre work with your earlobe proportions and face shape, so measure your lobe, note visual weight, and factor in setting and backing to balance presence and comfort. Practical rules, such as roughly 30 to 50 percent of lobe height for subtle, 50 to 75 percent for everyday balance, and larger for a statement, translate into common millimetre ranges, while high lustre and halos increase perceived scale.
Follow the at-home tests and try-on routine from the guide: cut paper circles, photograph front and 45-degree views in natural light, and wear shortlisted studs while moving to check comfort and tilt. Use those comparisons to choose pearls that balance proportion, lustre, and backing so your studs enhance your features rather than overwhelm them.